
Stage 4 · Plan hidden heating routes before closing in
Heating and hot water: plan the routes first
Decide how the van will be heated before floors, furniture and lining hide the routes. Leave room for warm-air ducts or heating-fluid pipes, the heater itself and future servicing. Final connection, filling and commissioning come later, using the actual equipment instructions and a suitable installer.
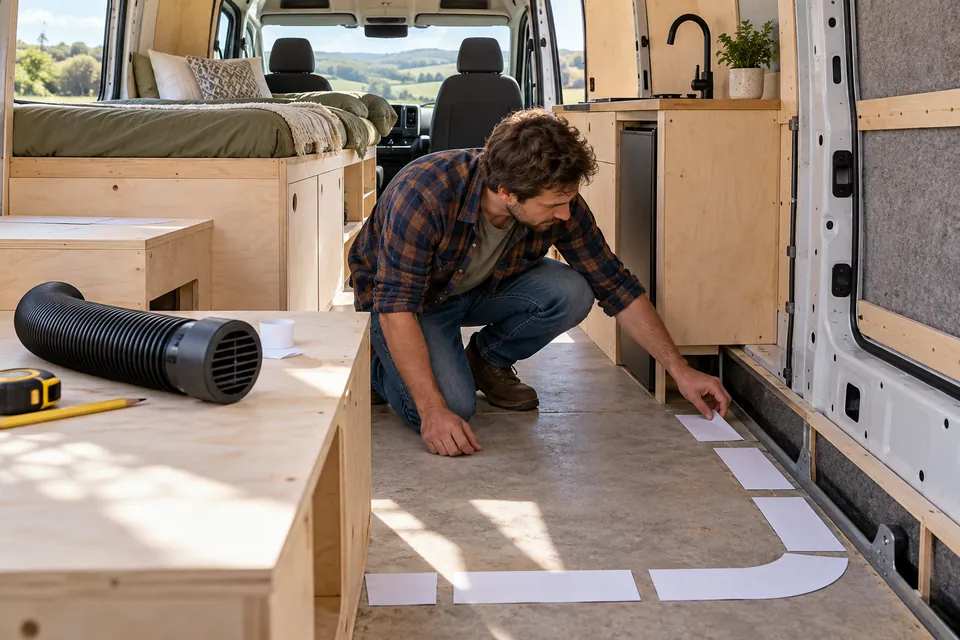
1. Plan early, complete at the right stage
Heating is easy to leave until the furniture is almost finished. By then, the best route may be occupied by a bed support or a service hatch may be impossible to reach. Decide on the broad system alongside the furniture, water and electrical layout.
Before insulation and flooring, agree any permitted body penetrations and the space the route needs. Before furniture and wall panels close in, prepare the supported routes and service openings. Before use, complete the equipment installation and the appropriate commissioning.
These are checkpoints, not a rule that every heater must be installed into a bare shell. Some components are fitted later. The important part is knowing what the finished system requires before other work takes away the access.
Mark provisional routes on your sketch and try them with loose samples or cardboard. Keep clear records of what is confirmed and what still needs the installer or product manual. A route marker is not permission to drill the van.
2. Three different things that can look like “heating pipes”
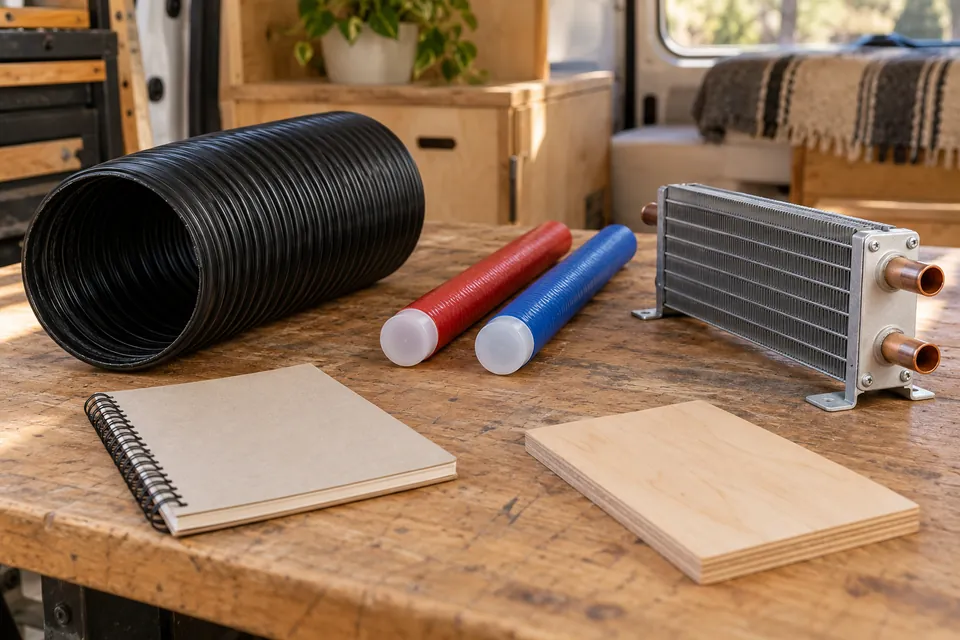
Warm-air ducts carry heated room air from a suitable air heater to outlets. Most familiar diesel air heaters and Truma Combi systems use warm-air distribution for space heating.
Hydronic heating pipes carry a specified heat-transfer fluid around a wet central-heating system. They may feed convectors or a compatible designed underfloor system.
Domestic hot-water pipes carry water to the sink and shower. They are separate from a hydronic heating-fluid circuit, even where one appliance heats both systems.
Do not interchange these materials or connect the circuits together. Exhaust pipe is another separate system again: it carries combustion gases and must never be mistaken for a warm-air duct.
Knowing the type now avoids leaving a narrow hole for a much larger duct, buying fresh-water hose for a heating circuit or assuming a water-only boiler will heat the living space.
3. Choose the job before choosing the brand
Think about ordinary use: short cool evenings, winter trips, drying the space after a wet walk and how much hot water you need. Insulation, ventilation, the size of the van and the travel pattern all affect the decision. Ask the installer to size the system for the actual build rather than buying the highest output available.
| Approach | What it can do | Plan for |
|---|---|---|
| Separate air heater and water heater | One unit heats the room; another heats domestic water | Two equipment locations and each unit's supply, routing and servicing needs |
| Combined warm-air and water heater | One appliance provides room heat and hot water | Appliance access, warm-air ducts, water connections and its fuel/energy arrangement |
| Hydronic central heating | Circulates heat-transfer fluid to compatible emitters; hot-water capability depends on the system | Flow/return routes, emitters, pump, expansion/bleed access and any designed floor assembly |
| Electric water-only heater | Heats domestic water, within its actual capability | Energy use, recovery time, water-system compatibility and separate space heating if required |
The combined Truma option: Combi models combine space heating and domestic hot water. Fuel and electrical options depend on the exact version. For example, the Combi 4 E is an LPG/electric model; diesel Combi versions are a different choice. The electric heating mode on that example uses 230 V, alongside its low-voltage controls. Do not mistake that for a large heater running directly from a small 12 V supply.
A Truma water-only boiler is a different product from a Combi. Compare the full package and installation needs, not just the name on a listing. A combined appliance may save duplication, but it still needs its distribution, controls, water fittings and service space.
4. Reserve the service space, not just the box
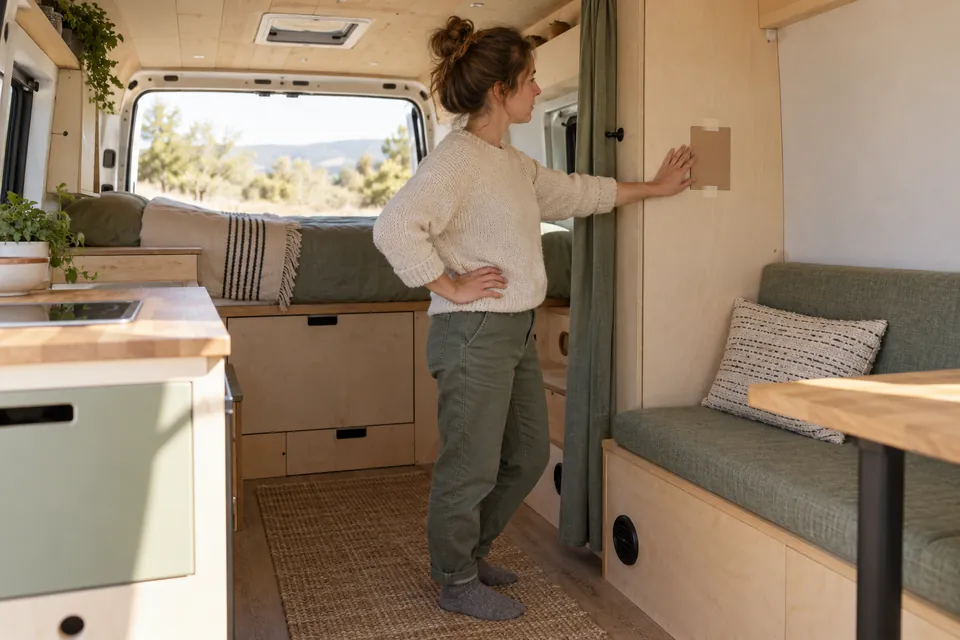
Make a full-size cardboard envelope using the current product drawing, then add its specified clearances and the space for connections. Try removing a cover, reaching the fixings and taking the unit out through the planned opening.
Look at the route from every side: warm-air distribution or heating-fluid pipes, water, electrical supply, controls and the approved fuel/combustion arrangement. A position that suits one connection may make another impractical.
Check the permitted mounting orientation, support and surrounding materials. Do not assume an appliance can sit against timber, be turned on its side or share a storage box simply because it fits.
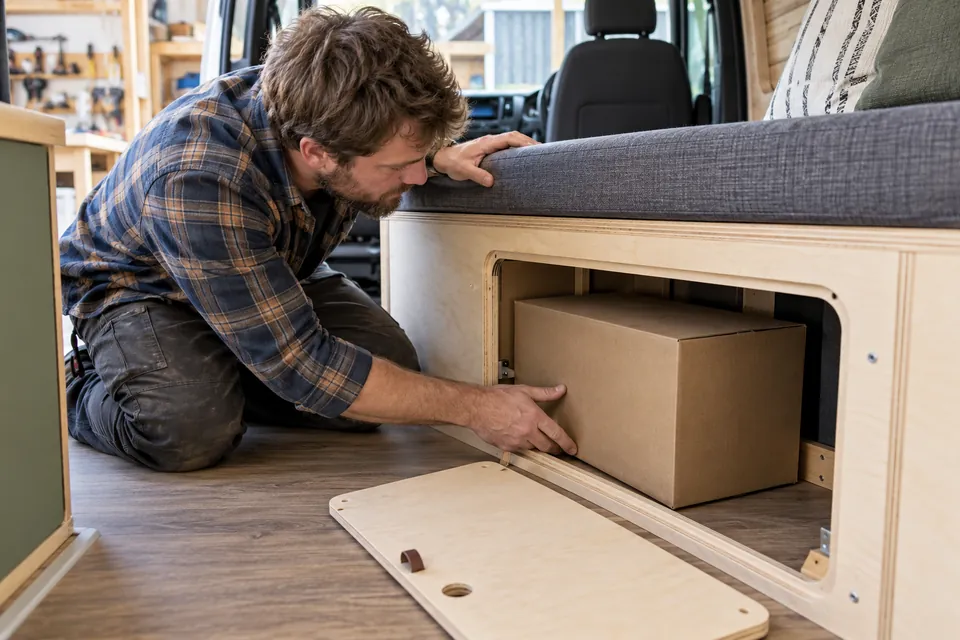
Keep luggage from pressing against hot surfaces, ducts or protected connections. If equipment is under a bed or seat, confirm that everyday storage will not block the required circulation opening or service hatch.
Think about sound and maintenance as well as space. An accessible, properly mounted installation is more useful than hiding a unit so thoroughly that routine work requires dismantling the bed.
5. Plan warm-air ducts without squeezing them into leftovers
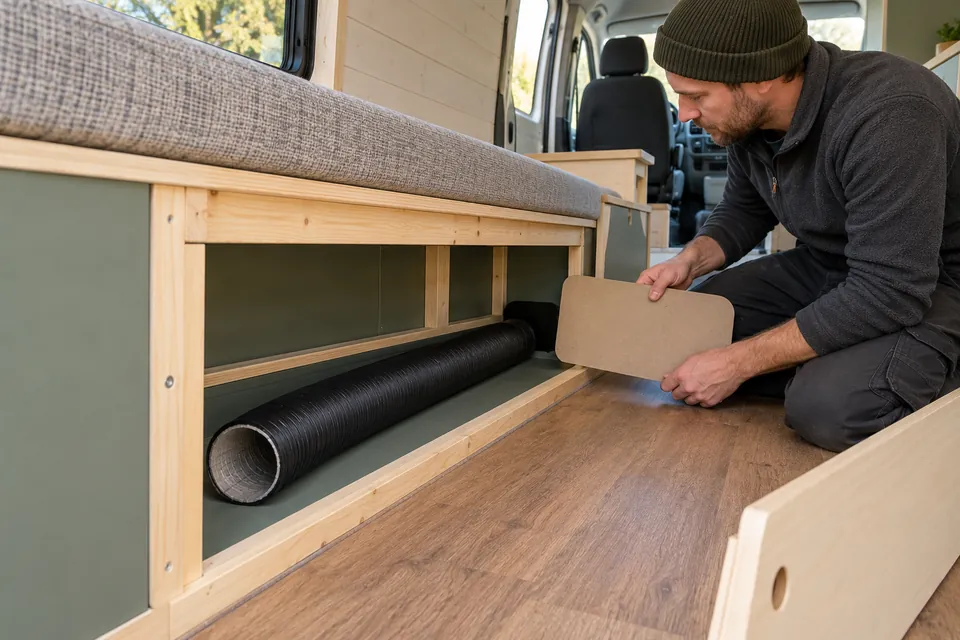
Choose the duct type, diameter, outlets, permitted bends and run arrangement from the selected heater's instructions. Do not reduce a duct to fit a convenient hole or use a sharp bend simply to avoid moving a furniture support.
Place outlets where they can distribute warmth without being blocked by cushions, bedding, bags or a cupboard door. Check both day and night arrangements if the seating becomes a bed.
Leave the room-air return path the system needs. Warm air has to circulate; an outlet into a sealed box is not a room-heating plan. Confirm that the intake cannot draw contaminated air into the living space.
Do not mix duct types or add branches and closable outlets without checking the actual system. The heater may need a particular distribution arrangement or a permanently available airflow path. Details vary between products.
Protect and support the route as specified. A duct hidden behind furniture still needs room to remain open and undamaged. If the design takes a route outside or below the floor, use the manufacturer's suitable weather, insulation and protection solution; do not simply bury ordinary ducting in the floor sandwich.
6. Wet central heating needs its own route plan
A hydronic system circulates a specified heating fluid through compatible pipes and emitters. Systems such as Alde use convectors; compatible underfloor heating can be part of a designed system. This is a different approach from distributing warm air through large ducts.
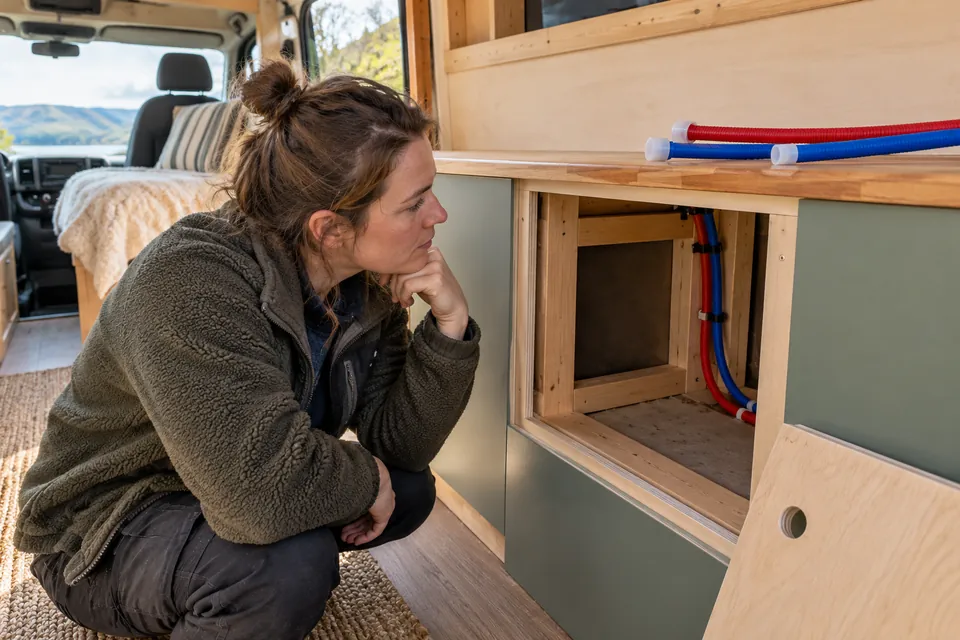
Agree the flow and return paths, supports, heat protection and service points with the supplier or installer. Leave access to the pump, expansion vessel or tank, bleed points, valves and serviceable joints as required by that system.
Keep the heating fluid separate from drinking water. Use the specified pipe materials, fluid and components, and record the maintenance requirements. Do not borrow a mixture or filling procedure from an unrelated heating system.
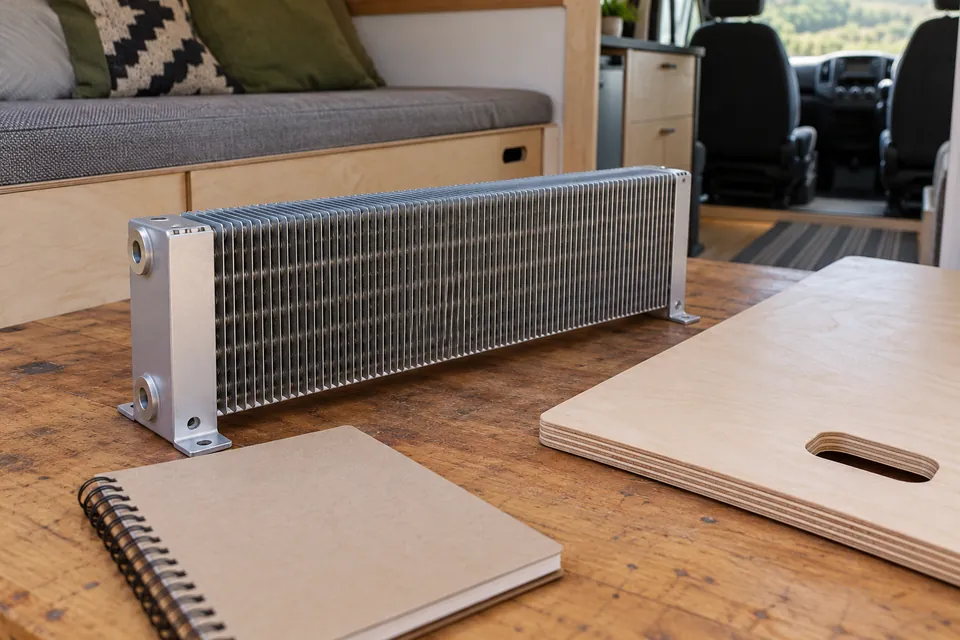
Convectors usually need a planned path for room air to move around them. Boxing an emitter tightly into unused space can undermine its purpose. Confirm the furniture openings and clearances before the joinery is finished.
Have the circuit and its planned concealed sections checked using the manufacturer's testing procedure before they become inaccessible. Keep a route drawing so later floor or furniture fixings do not damage hidden pipes.
7. Decide on underfloor routes before the floor is built
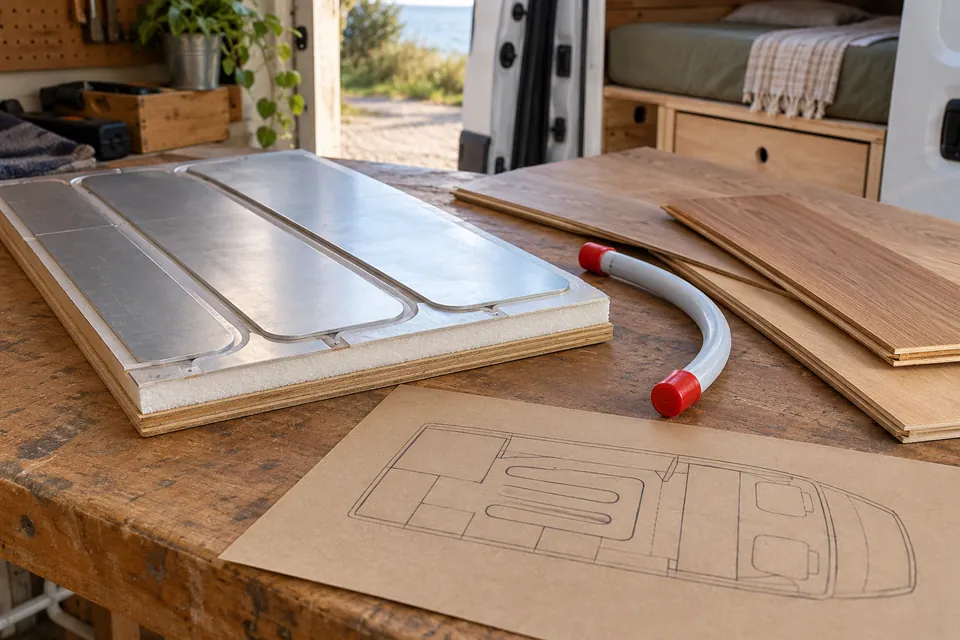
If you want a compatible wet underfloor-heating system, make that decision before choosing the floor layers. The system affects depth, materials, heat transfer, floor-covering compatibility and where it is safe to fasten furniture.
Use the complete supplier-approved floor arrangement and route design. Do not carve a few channels into an existing floor and assume a warm pipe will produce a suitable underfloor system.
Separate a simple service route from intentional underfloor heat. A pipe passing under a board does not by itself create underfloor heating, and concealing a warm-air duct in an unsuitable cavity is not an equivalent method.
Mark the finished no-fixing areas on the route record. Take photographs with useful reference points before the boards go down. Keep the service access needed by the actual system; an attractive continuous floor should not remove a required maintenance opening.
If the heating choice is not settled, pause the affected floor or furniture detail rather than making an unconfirmed route permanent. This is one of the decisions that is much easier while the van is still open.
8. Fuel and combustion routes need specialist attention
Room air, combustion air, fuel and exhaust have different jobs. Their positions and separation are part of the complete appliance installation. Use the exact vehicle and heater instructions, including restrictions around body penetrations, opening windows, doors, ventilation and surrounding materials.
Agree the heater and external termination positions before cutting bodywork or closing the inside. Do not copy an exhaust position from a photograph of another van. Underbody services, hot components and body structures differ.
Use an appropriately competent installer for the chosen system. AUTOTERM's air-heater manual, for example, specifies approved specialist installation. For LPG work, choose a Gas Safe registered engineer with the relevant LPG and leisure-vehicle categories, and check those qualifications. Registration for a domestic boiler alone does not establish the right scope.
This guide does not give a fuel tapping, gas jointing or flue assembly recipe. Obtain the required installation and testing records. A heater starting successfully is not proof that its fuel or exhaust system is correctly installed.
Keep required ventilation clear and fit suitable smoke and carbon-monoxide alarms according to their own leisure-vehicle guidance and the installation plan. Alarms do not replace correct appliance installation or maintenance. Never use an outdoor portable gas heater inside the van; the NCC explains why campervan ventilation does not make that safe.
9. Join the hot-water plan to the plumbing plan
Decide whether you want only a warm sink supply or a shower as well. Match the appliance to the expected use, water-system pressure, tank capacity and available energy. A small storage heater has a finite supply and needs time and energy to recover.
Plan the cold feed, hot supply and the required safety/drain arrangements together. Leave valves and service points reachable. Use temperature- and pressure-suitable potable-water components for the actual heater.
Preserve every required relief or drain route. Do not cap an outlet, add an isolating valve where it is prohibited or hide a drain so it cannot work as intended. Confirm protection against scalding and the outlet arrangement with the installer.
Electric water heating adds a real load even where the wattage sounds small. Check energy over the heating period and the rest of the van's needs; do not judge suitability from “12 V” alone. A 230 V mode usually intended for hook-up is not automatically practical from your planned inverter and battery.
Use the water supply and plumbing guide for storage, pump access, routes, cleaning and drain-down. A frost valve or insulated box does not protect every pipe in the van from freezing.
10. Leave room for power, controls and shutdown
A fuel-fired heater still needs electrical power for its controls, pump and fans. Include startup and shutdown behaviour as well as normal operation when planning the supply. Use the selected product's wiring and protection requirements.
Put the control where it is easy to reach, and the room sensor where the manufacturer requires it. A sensor beside an outlet, cold door edge or strong sun patch can misrepresent the occupied room.
Use the normal shutdown procedure. Do not routinely cut power to stop a heater that needs a controlled cool-down or purge. Agree how emergency isolation differs from ordinary switching off.
Record any 230 V supply and the modes that require it. Keep electrical service points accessible and have the installation verified appropriately. Fuel-burning heat is not independent of the leisure-power plan.
11. Check what will be hidden
Before closing a floor, seat base or wall, compare the real route with the agreed drawing. Confirm that supports are in place, ducts are not crushed and pipes are protected from edges, heat, movement and later fixings.
Have the required checks and leak/pressure tests completed by the appropriate person using the actual system's procedure. There is no universal pressure or test duration for every heating, fuel and fresh-water circuit.
Photograph each route with reference points. Mark removable panels, no-fixing areas and service access on the drawing. Keep product identities and instructions with the record so a future repair does not rely on guessing.
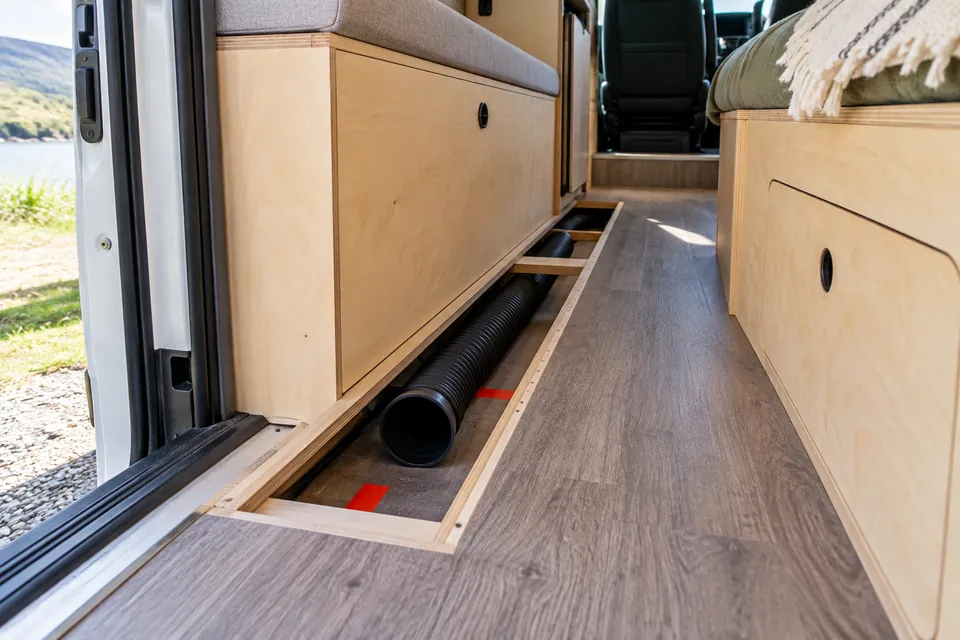
Try the service opening with the normal bed, cushions and storage in place. Make sure nobody has to remove a permanently fixed kitchen to reach a routine drain valve or heater cover.
12. Commission the finished system and learn its routine
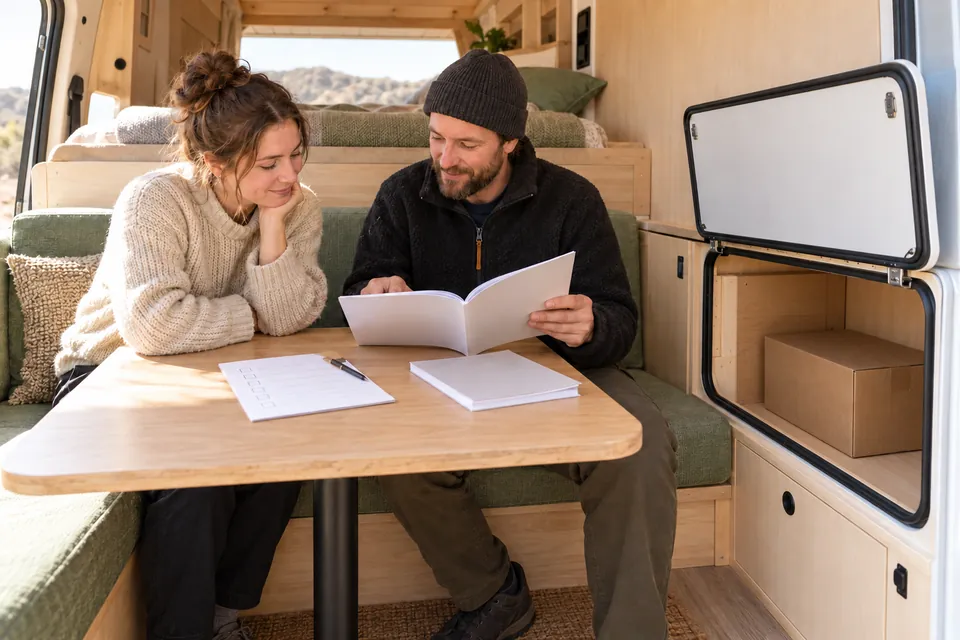
Have the completed installation commissioned against the actual appliance instructions and relevant requirements. Check the heating distribution, hot-water behaviour, controls and protection in the finished furniture arrangement.
Learn the normal starting and stopping sequence, permitted operating conditions, fault response and maintenance routine. Confirm any restrictions for refuelling, travel or enclosed locations from the selected equipment's instructions.
Keep the appliance and water-system winter-storage procedures together. Draining a domestic-water cylinder is different from maintaining a closed hydronic heating-fluid circuit. Do not empty or refill either by guesswork.
If an alarm activates, exhaust is suspected inside, or the installation smells or behaves abnormally, stop using it and follow the emergency guidance for the appliance and alarm. Leave the space if needed and obtain appropriate help; do not keep restarting a faulty heater.
Compare complete installed options
Ask for an itemised total covering the heater or boiler, distribution, controls, fuel arrangements, required fittings, mounting, water safety/drain parts, electrical supply, labour and testing. A low appliance price can exclude much of the working system.
Compare either a combined heating-and-water package or a suitable separate air heater and water heater. Do not count all three as necessary. Also consider service availability, warranty requirements, running energy, maintenance and the effect on your floor and furniture.
A simpler supported system can be a sensible first build. Wet central heating and underfloor heating are options, not requirements for an off-grid conversion. Choose the arrangement that suits the way you travel and the budget for a complete installation.
Your two-stage checklist
| Before flooring, furniture and lining close in | Before the system is used |
|---|---|
| Warm-air or hydronic approach identified | Exact appliances and compatible parts confirmed |
| Heater envelope, clearances and service access reserved | Fuel, combustion, electrical and water work checked appropriately |
| Approved duct/pipe and body-penetration routes agreed | Product-specific filling, testing and commissioning completed |
| Underfloor choice settled before the floor assembly | Controls, distribution and hot-water operation demonstrated |
| Required checks complete before concealment; route photographs saved | Manuals, records, shutdown and winter routines supplied |
Route planning belongs early. Finishing the heater later is straightforward only when the build has left the right space and access for it.
Product instructions and further reading
Original CamperSteps content, with technical references from Truma's Combi 4 E information and Truma's service/manual resources; AUTOTERM's air-heater documentation; Alde's hydronic van-heating overview and system explanation; and HSE's engineer-checking guidance. Use the current instructions for the exact products and vehicle. Illustrations do not replace those instructions or installation verification.