
Stage 11 · Useful storage that stays secure on the road
Building overhead cupboards and secure storage
Start with one small cupboard that fits the way you use the van. Keep it light, give every door a proper travel closure and make sure the cupboard is attached to suitable structure—not simply to the decorative lining.

1. Try a cardboard cupboard before cutting timber
Mark out a short run over a bench or kitchen using cardboard. Support the mock-up securely while the van is parked; do not suspend it above someone with masking tape. Sit down, stand up, reach for the shelf and walk past it. Check headroom with the bed in its sleeping position as well as with the seating arranged for daytime.
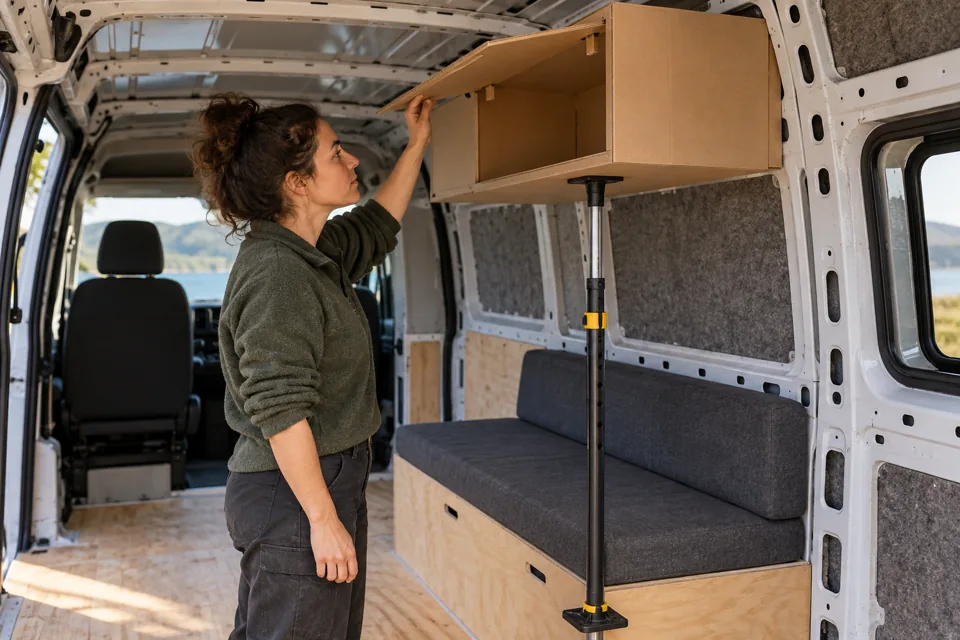
Add a cardboard door and open it fully. Does it hit the ceiling, rooflight surround or neighbouring cupboard? Can you reach inside without standing on a seat? Does an open door sit at forehead height? Smaller separate doors may be easier to use than one long heavy flap.
Keep the side-door exit, required ventilation, window operation and appliance clearances usable. Avoid putting a cupboard over a hob unless the actual appliance instructions and the complete layout permit it. The available wall space is not automatically safe storage space.
2. Decide what belongs high and what belongs low
Use overhead space for lighter everyday things such as clothing, towels and bedding. Put heavy tools, batteries, water and dense food storage low down in appropriate secured compartments. A large cupboard is not an invitation to fill the entire volume with heavy items.
Write a contents list before drawing the shelves. Include the cabinet itself, doors, hardware and intended contents when discussing the attachment design and load limits. A hinge rating, latch rating or shelf rating does not establish the capacity of the whole installation.
| Storage location | Useful starting point | What still needs checking |
|---|---|---|
| Overhead cupboards | Light clothes and soft bedding | Cabinet, contents, attachment and closures |
| Low secured compartments | Heavier equipment and supplies | Restraint, floor/structure suitability and access |
| Open shelf while parked | Small items you are currently using | Move or restrain everything for travel |
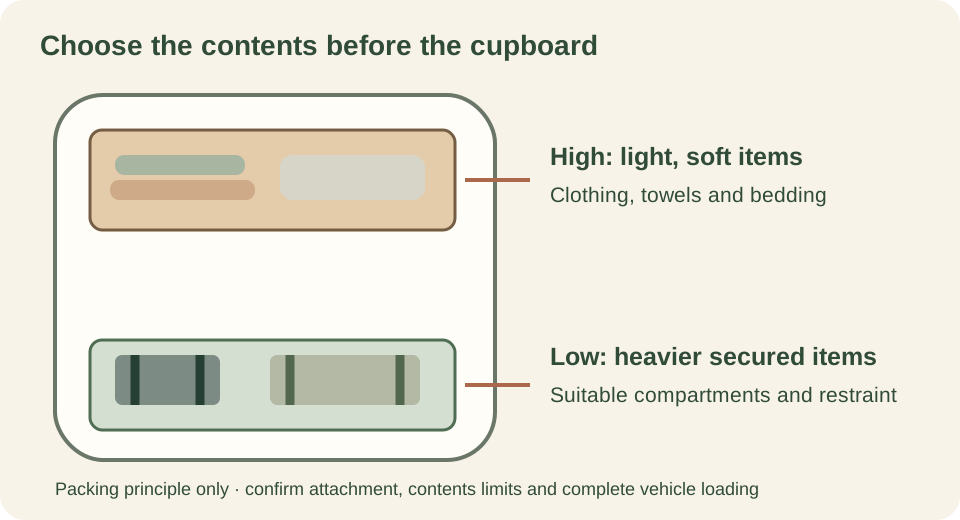
Keep the complete conversion within its vehicle and axle limits. Recheck the finished van in its normal travelling condition, including passengers, fuel, water and luggage.
3. Choose a light construction that suits the job
Common approaches include a plywood carcass or a frame with suitable lightweight panels. Compare the complete assembly rather than one sheet: framing, doors, edge trims, brackets, shelf supports and hardware all add weight.
Choose the material thickness, spans, joints and attachment method as a system. A thin lining panel is not automatically a structural cabinet side. Conversely, copying thick domestic kitchen units can consume weight and space unnecessarily. There is no single plywood thickness that makes every overhead cupboard safe.
Ask the material supplier about moisture exposure, edge finishing and compatible adhesives. Check that hinge and latch fixings have suitable material to hold in, particularly with lightweight or sandwich panels. Make a sample corner and a sample door fitting before cutting the complete run.
4. Template the curved wall and ceiling
A van narrows and curves as it rises. Make a cardboard end template where the cabinet will actually sit, allowing for the finished lining and any required spacing. Mark the front edge and a reference line so you can put the template back in the same position.
Try it at both ends of the proposed run. Do not assume the wall is symmetrical or that one end shape fits every position. Transfer the proven outline to a scrap or inexpensive test piece before using your best panel.
Set the door opening and internal shelf space from the usable interior, not just the outside rectangle. Leave room to install the chosen fittings and reach the attachment points. A neat profile is of little use if the last fixing becomes inaccessible.
5. Assemble and check the cabinet on the bench
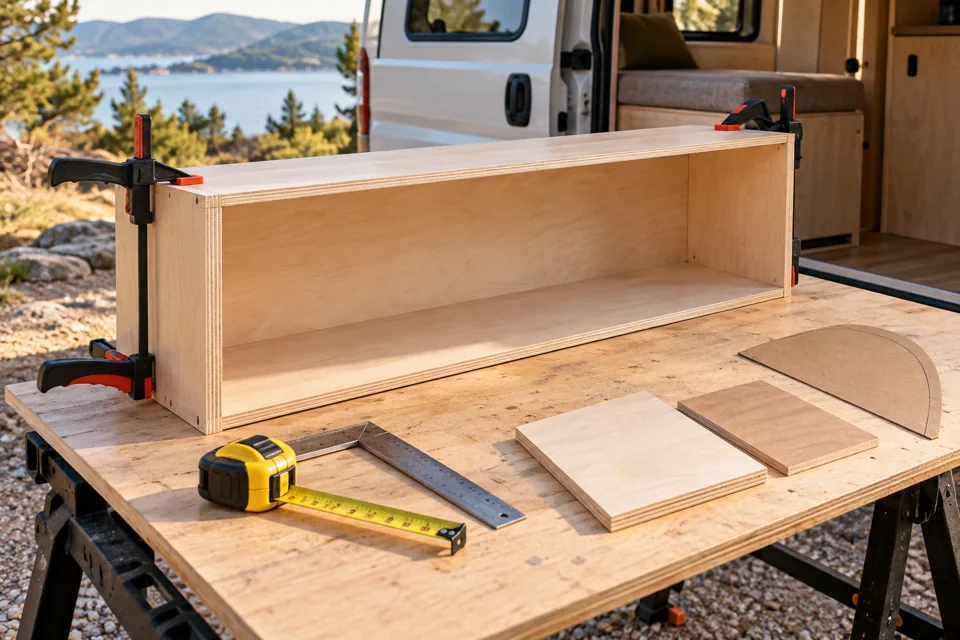
Prepare a cutting list with each piece named and its finished size recorded. Label mating parts, check the grain or decorative face direction and account for the actual way the joints overlap. Make one cabinet or one representative section first.
Dry-assemble on a flat surface. Check the opening is square and that the back or bracing arrangement keeps the box from racking. Trial-fit the door and shelf before gluing or finishing. Use the joint and adhesive manufacturer's preparation and curing instructions, with mechanical connections where required by the design.
Cut and sand in a suitable work area with effective dust control. Use appropriate extraction and protective equipment for the task; keep dust out of the van's living space. Rounded exposed corners and smooth edges improve everyday comfort, but finishing does not compensate for weak construction.
6. Agree the vehicle attachment before lifting the cabinet
The important connection is the full path from cabinet to suitable vehicle structure. Decorative plywood, carpet, foam and insulation do not provide that path on their own. Even a batten needs an appropriate attachment to the vehicle; a cabinet screwed to an inadequately fixed batten inherits the same weakness.
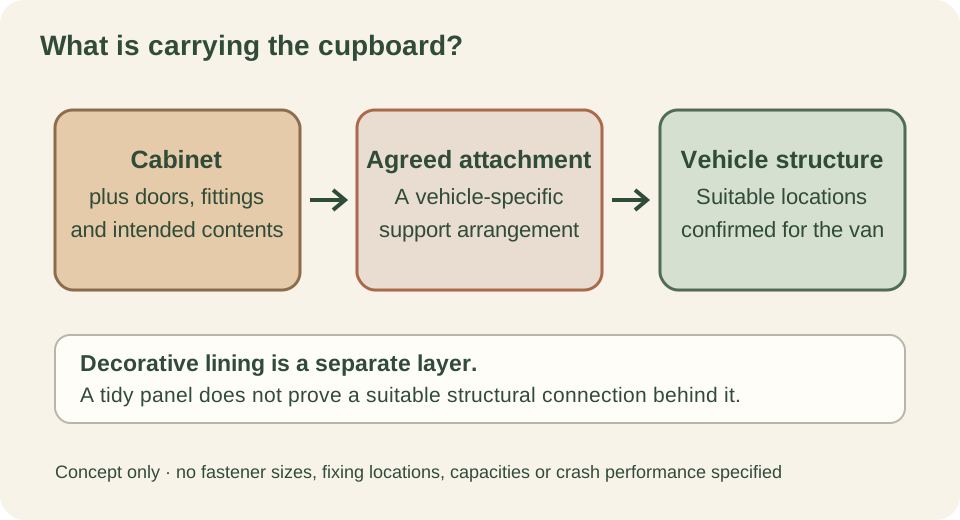
Use the body/conversion guidance for the exact make, model and year. Establish permitted fixing locations, access to both sides where required, concealed wiring and other services, and how any drilled metal is to be protected. Do not drill a roof rib, pillar or outer skin simply because it is conveniently placed.
Have a competent vehicle converter confirm the support and fixing arrangement for the completed cabinet and intended contents. Fastener type, number, spacing, backing and installation requirements depend on the actual structure and loads. A generic count of rivnuts or self-tapping screws would be misleading here.
Support the cabinet with suitable props and help while trial fitting it. Do not work beneath an unsecured unit or use its doors as lifting handles. Check fit without forcing the cabinet to follow a twisted surface. Retain accessible inspection points and record the concealed arrangement before surrounding trim is fitted.
7. Fit doors, hinges and positive travel catches
Choose hinges and closures for the actual door weight, size, material and opening direction. An upward-opening flap may also need a compatible stay to hold it safely while parked. A stay or gas strut is not a travel latch, and a soft-close hinge does not necessarily keep a door shut on the road.
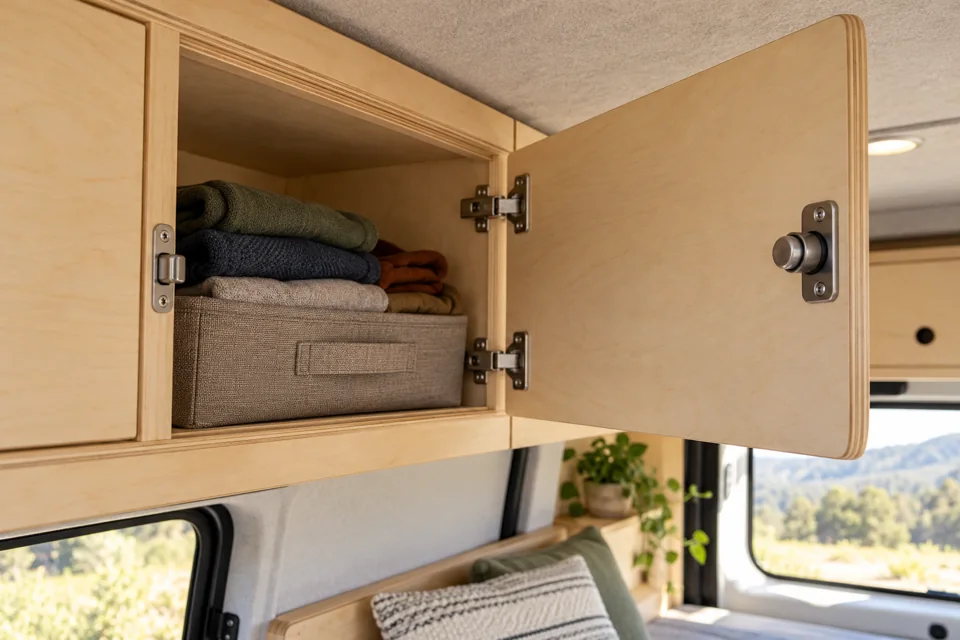
Use a positive mechanical closure suitable for the intended vehicle application, with the correct mating strike and installation instructions. Check panel thickness, engagement, alignment, fixing purchase and the manufacturer's conditions. A handle that clicks or a magnet that holds at rest is not evidence of suitable travel restraint.
Fit and adjust the door in the installed cabinet. Close it normally and confirm full engagement, then operate it repeatedly. Make sure baskets cannot obstruct the latch and contents cannot push against a hinge or force the door outwards. A shelf lip helps organisation but does not replace a secured door and suitable contents restraint.
8. Keep lights, ventilation and services accessible
Before fixing the final shelves, check any cable route for under-cupboard lighting, required ventilation openings and removable service panels. Keep cables protected from door movement, hinge screws and stored items. Arrange electrical work with the installer rather than hiding an improvised connection inside furniture.
Leave access for inspection and repair. Use a removable panel where an agreed service point must remain reachable, and mark the panel clearly in your build record. Do not cover required vents or rely on opening a cupboard door to provide an appliance's ventilation.
Check the finished cabinet against the lighting and sockets plan and the heating routes. Recheck door movement after trim, cushions and nearby fittings are in place.
9. Finish, pack and make the checks repeatable
Protect exposed edges and finish the chosen material using a compatible system. Let coatings and adhesives cure as directed before closing cupboards or packing bedding. Fit suitable shelf liners or dividers to reduce movement without concealing the fixings you need to inspect.
Record the agreed contents limit and packing arrangement. Keep heavy replacements out of an overhead cupboard that was intended for towels. Photograph the mounting locations, retain the hardware information and inspect for movement, cracking, loose fixings, worn catches or binding doors. Investigate changes rather than tightening a loose fixing repeatedly without understanding the cause.
Before every journey, close and latch the doors, secure loose objects and clear the aisle and exit. Begin inspection with the van stationary. Do not use harsh braking or an improvised road test as proof of attachment strength.
Tools, time and a simple budget
Start with a tape, square, cardboard, pencil, clamps and suitable supports. Cutting and drilling tools, bits, extraction and finishing supplies depend on the selected construction. Buying pre-cut panels can reduce the tool requirement; allow for final templating and adjustment.
Make a short budget with separate lines for panels/framing, hinges and stays, travel latches and strikes, the agreed mounting arrangement, edge finishing and any converter help. Price the complete latch set rather than just a decorative knob. Compare the complete built weight and service access as well as the purchase cost.
For illustration only, a £120 material allowance, £70 hardware allowance and £40 finishing allowance add up to £230 before mounting work, tools or labour. These are invented budgeting figures, not checked product prices or a promise that they will cover your design. Record actual quotes in your build budget and avoid counting the same hardware twice.
Allow separate sessions for the mock-up, templates, first cabinet, trial fit, finishing and final adjustment. A tidy small cupboard completed properly is more useful than a long unfinished run.
Before travelling: your storage checkpoint
- Headroom, door swing, window operation and the exit route work in the finished layout.
- Mounting supports were planned before lining or their actual condition has been verified.
- The cabinet and its intended contents have an appropriate attachment to suitable vehicle structure.
- Door, hinge, stay, latch and strike are compatible and fitted to their instructions.
- Every travel closure fully engages; contents cannot obstruct it.
- Heavy items are low down and suitably secured; overhead storage contains the agreed lighter items.
- Required ventilation, appliance clearances, wiring protection and service access are preserved.
- Finish is cured, edges smooth and the cabinet has no unexplained movement or damage.
- Attachment photos, product information and inspection notes are retained.
- The complete travelling vehicle and its axles remain within their limits.
If the attachment arrangement is unresolved, the cupboard is not ready for travel. Resolve that with the converter before loading it or driving.
Instructions and further reading
Original CamperSteps writing, planning diagrams and generated editorial illustrations. Images explain the jobs; they do not specify structural fixing locations, fastener sizes, capacities or crash performance.
- Ford Pro conversion resources—a starting point for obtaining the correct vehicle body and equipment guidance. Other makes require their own documentation.
- Southco: an example of positive latching hardware—illustrates why closure behaviour and application requirements matter, not a recommendation of this external latch for your cupboard.
- HSE: controlling dust when cutting and sanding wood.
References checked 2 November 2026. Use current instructions for the actual vehicle, panel system and hardware. Budget examples are editorial allowances; this guide does not change equipment prices or saved plans.