
Stage 5 · Plan early, fit and test carefully
Build a practical shower, toilet and wet room
Create a small bathroom that is comfortable to use, keeps water where it belongs and can still be serviced. Start with the layout, then work through tray support, waterproof walls, drainage, ventilation and the final checks.
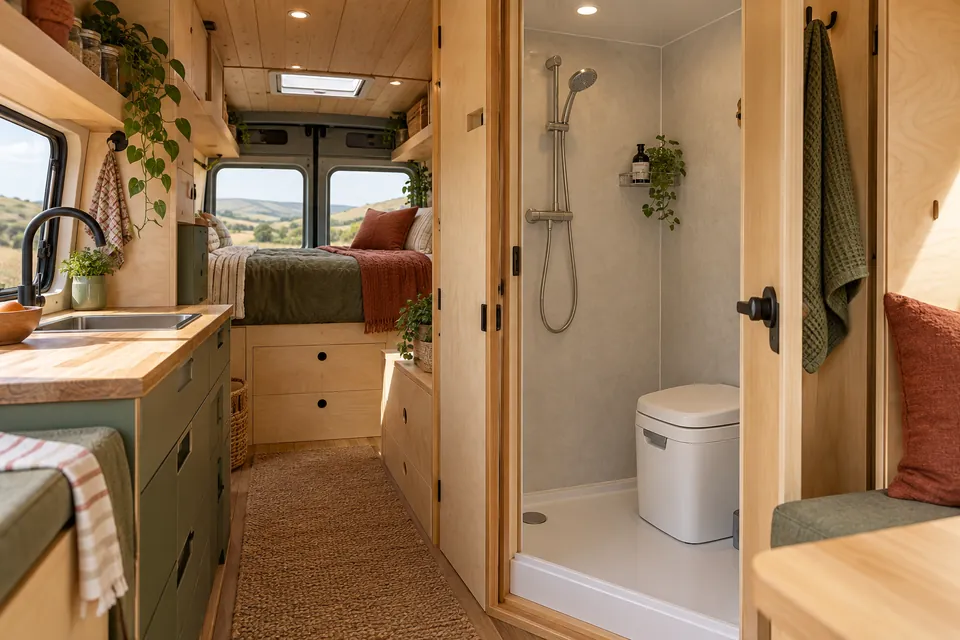
1. Decide early, finish in stages
A wet room brings several jobs into one small space: furniture, fresh water, hot water, grey water, ventilation and sometimes electrical equipment. Decide its position while the van is still a layout, even though the finished walls and fittings usually arrive later in the build.
Before closing the floor, agree where the tray, drain and any permitted penetrations will go. Before closing walls, reserve supported pipe routes, fixing grounds, ventilation and inspection openings. Fit the enclosure and finish the connections when the surrounding structure is ready, then test before concealing service points.
This is Stage 13 in the reading sequence, not a reason to postpone all bathroom decisions until now. Return to the water supply guide, heating guide and windows and ventilation guide while planning the early work. Confirm body openings against the vehicle information before drilling.
A portable toilet without a shower is a valid choice too. Build the facilities you will use, with a realistic cleaning and emptying routine, rather than squeezing a full bathroom into the plan because a photograph looks attractive.
2. Try the finished space before buying
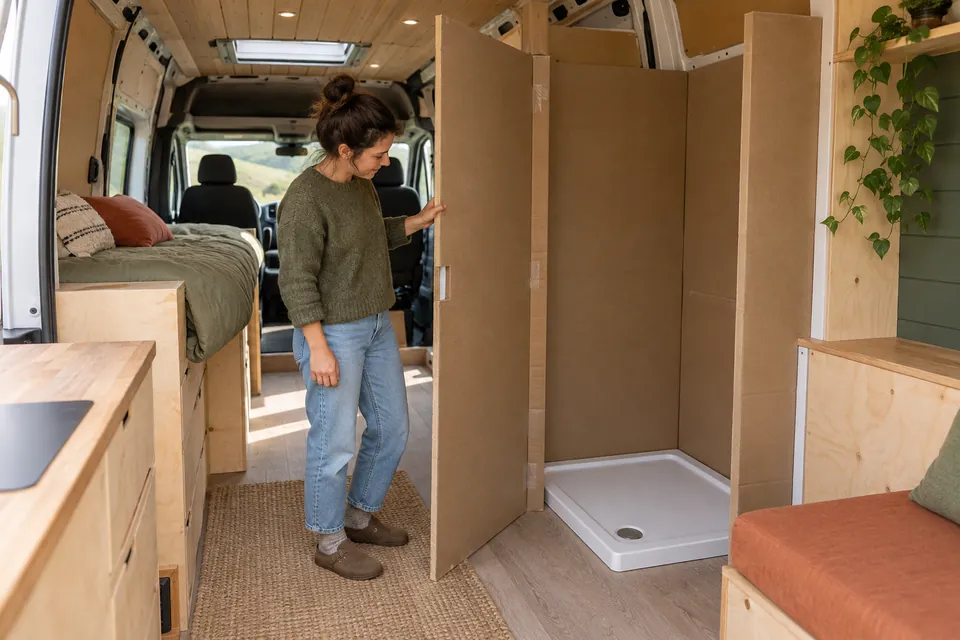
Make a cardboard enclosure and mark the tray footprint on the floor. Include the thickness of the finished wall system, tray support and doorway. A bare-shell width is not the space your shoulders will have after the room is lined.
Try sitting, standing, turning and reaching down as though washing your feet. Check headroom above the raised tray, including the shower fitting and roof curve. Anyone who will use the van should try it; a comfortable fit for one person may be awkward for another.
Put the opening towards the usable aisle. Swing a mock door, or try the space needed for a folding door or curtain. Check the bed and kitchen in their everyday positions, and leave a practical way through the van. The bathroom must not make an existing exit unusable.
The planner’s 900 × 800 mm wet-room envelope is an illustrative starting point. It does not specify a finished cubicle, tray size or clear doorway. Replace that assumption with the actual product dimensions and a physical mock-up before committing.
3. Choose the toilet and shower arrangement
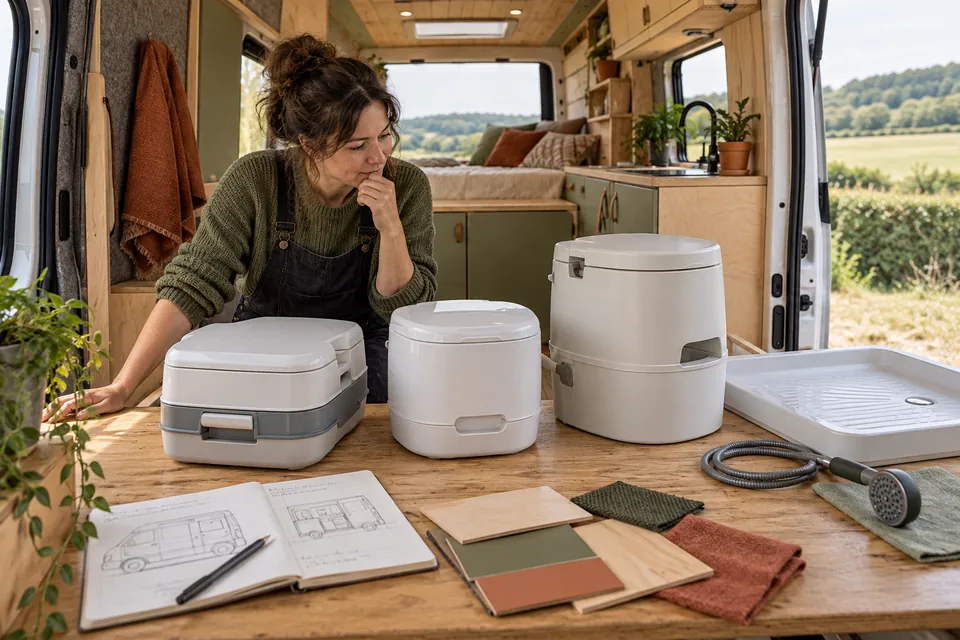
A portable toilet can be brought out for use and secured in its designated travel position. It avoids a permanent cassette access door, but you still need room to lift it out, separate its parts where required and carry the waste container without dismantling furniture.
A fixed cassette toilet uses a removable waste tank and usually needs a planned service opening. Select the actual model before designing the enclosure. Use its installation template and approved door arrangement; a generic rectangle drawn on the outside of the van is not an installation template.
A separating toilet collects different waste streams separately. Check the specific model’s containers, vent requirements, power needs and permitted use of bags or consumables. It does not make waste disposal disappear, and it should not be described as producing ready-to-use compost inside a small van.
Decide whether the toilet stays inside the shower enclosure or is removed for showering. Check that its maker permits the intended exposure and mounting arrangement. A curtain can save space, but needs a way to contain splash and dry afterwards. A rigid door costs more space and needs suitable travel retention.
4. Support the tray and leave access beneath it
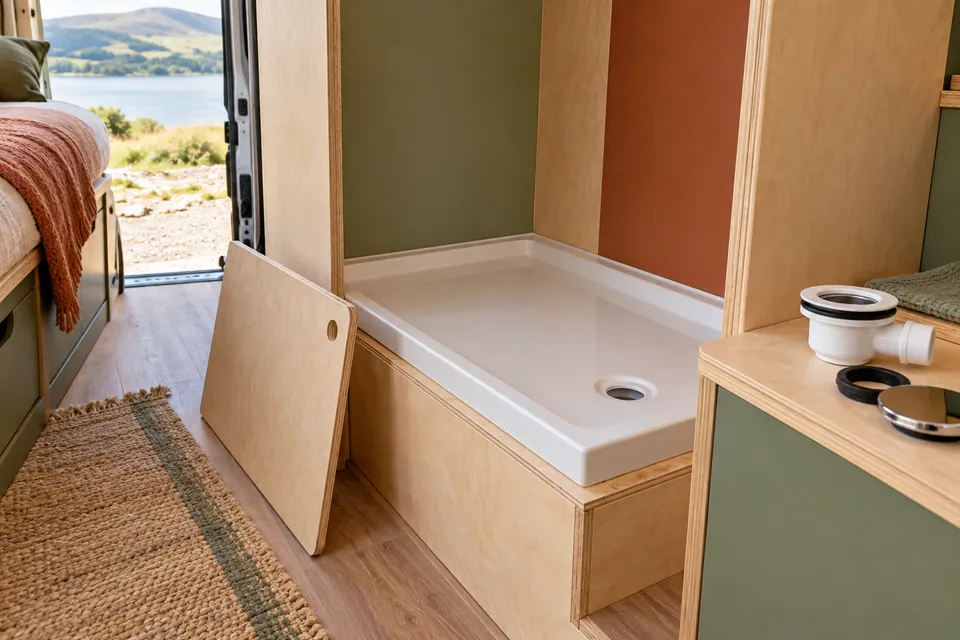
Buy the tray and waste fitting as a compatible combination. Check the drain location, overall dimensions, upstands, permitted trimming and how the manufacturer requires the base to be supported. Do not assume every moulded tray can bridge between a few timber battens.
Offer the actual tray into the mock-up before constructing its permanent base. A wheel arch, floor rib or crossmember may occupy the space where the outlet appears on paper. A taller plinth can create drainage space but also reduces headroom and increases the step into the shower.
Construct a stable, suitable support using the tray instructions and the vehicle’s fixing constraints. Protect vulnerable cut edges and keep the access opening large enough for the drain, clamps and tools. A finger-sized hole is rarely a useful service hatch.
Keep the drain fitting reachable after the surrounding kitchen, bed or cupboard is fitted. Photograph the dry fit and save the product instructions. The picture shows the idea of a supported dry fit; its support details are not a universal tray specification.
5. Treat waterproofing as a complete system
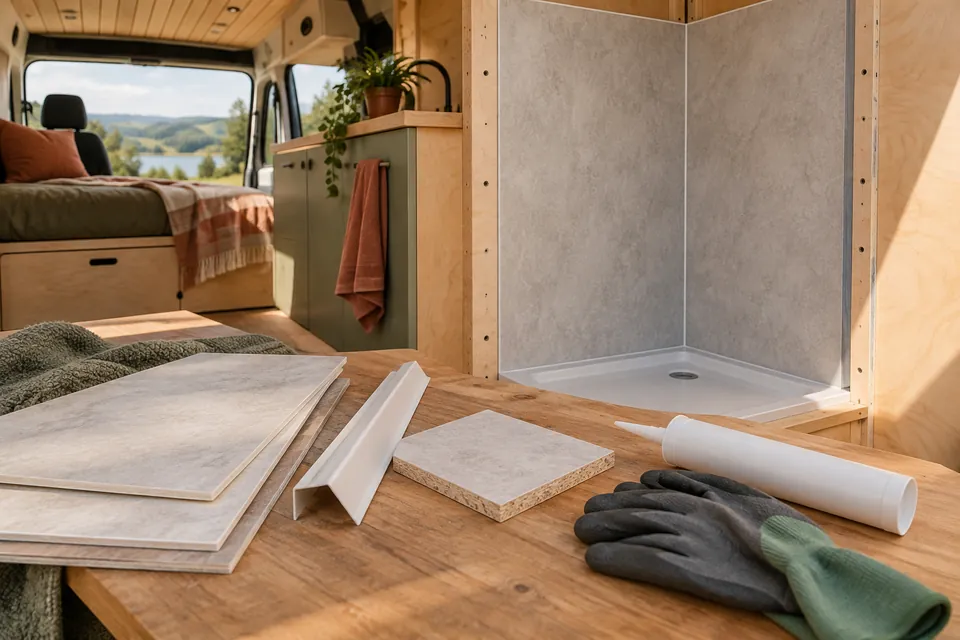
A decorative wall face is only one part of keeping water out. Corners, tray junctions, screw holes, door edges and pipe penetrations are common weak points. Specify the whole enclosure system, including its backing, adhesive, seals, trims and movement details.
Choose materials intended for the proposed wet environment and suitable for vehicle use. Check the manufacturers’ compatibility advice. A waterproof panel bonded with an unsuitable adhesive, or joined to an incompatible tray seal, can still make a leaky enclosure.
Dry-fit panels and trims, identify where joints will land and read the preparation and curing instructions before opening adhesive. Keep backing materials dry and sound. Do not apply sealant over dust, damp timber or an old failing bead and expect a lasting repair.
Follow the selected system’s joint design and cure times. Some systems use particular profiles, tapes or bonded junctions; there is no single bead size or sealant that suits them all. Avoid unnecessary fixings through the wet face and detail every necessary penetration using that system’s instructions.
Household tiles and heavy boards can add substantial weight and may not tolerate vehicle movement without an appropriate design. A lighter panel system may be simpler for a first build, but it still needs proper edge treatment, support and compatible sealing.
6. Give used water a reliable way out
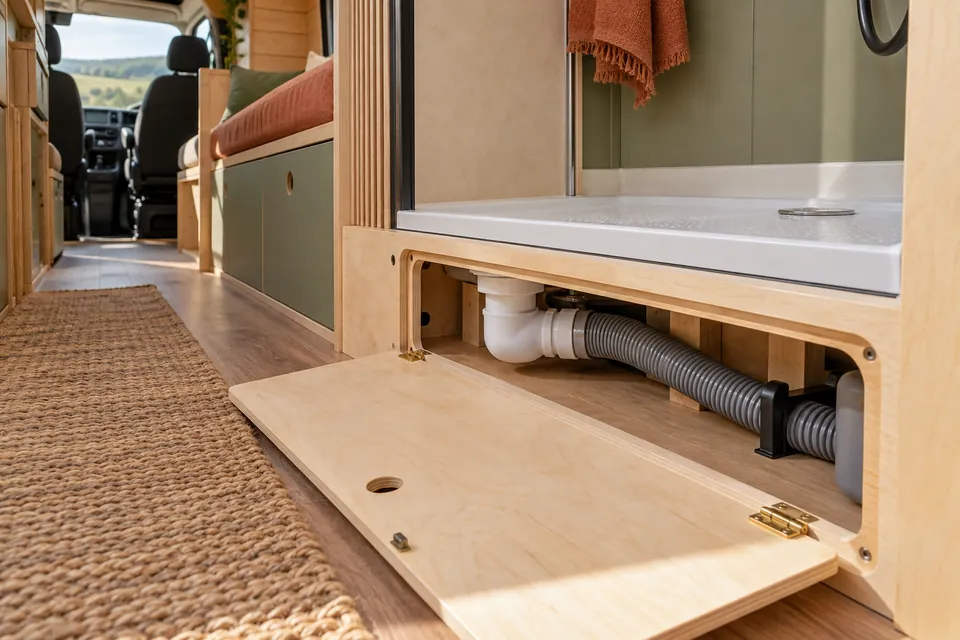
Trace the route from tray outlet to the grey-water tank. Allow for the actual waste fitting, hose bends, support, inspection and the tank connection. Check the route beneath the van and the permitted body opening before any hole is made.
A gravity route needs a workable fall in the installed arrangement. A low shower tray can make that difficult, particularly when the tank connection is higher than expected. Do not hide a hose that rises and dips because it happened to fit through the furniture.
Where a purpose-designed shower waste pump is required, match it to the installed height, route and shower flow. Keep it accessible in its permitted mounting environment and follow the manufacturer’s hose, power and control instructions. Pump ratings are not a promise of the same flow in every installation.
Whale’s Gulper 220 instructions, for example, call for a dry mounting position and explain that operating conditions affect output. They also require drainage performance to keep up with the incoming shower water. That is a product-specific example, not a reason to apply its details to another pump.
Plan odour control, tank ventilation and cleaning with the selected components. Arrange disposal into an appropriate grey-water facility, rather than treating a hose to the ground as the finished system. Retain access to likely blockage points and protect exposed routes against damage and freezing conditions.
7. Connect the shower to the water and heating plan
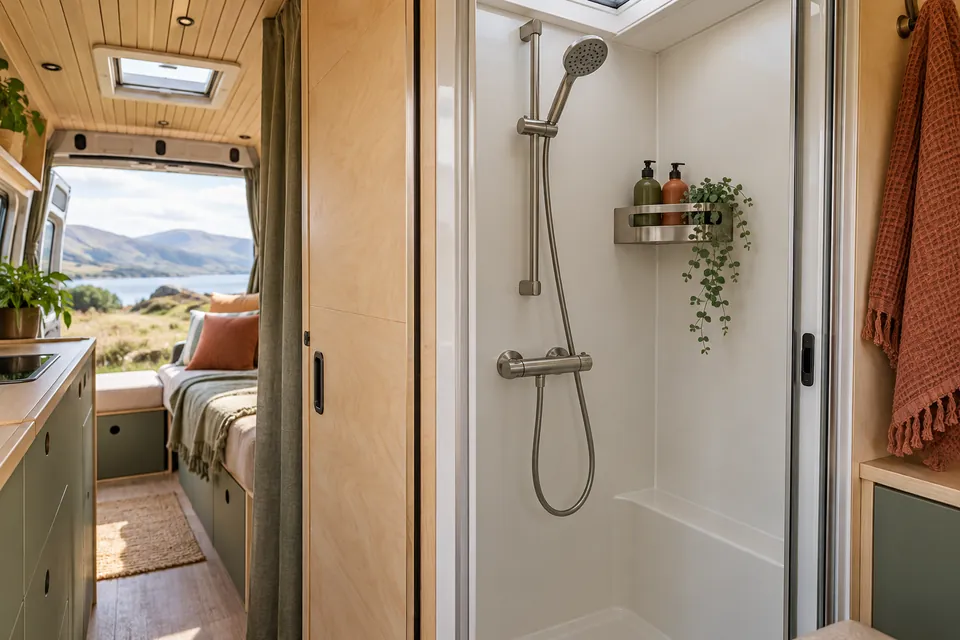
Choose a shower head, mixer and hose compatible with the pump pressure and hot-water equipment. Check the permitted operating temperatures and any required pressure controls or non-return arrangements with the actual product instructions.
Allow for a shut-off or isolation arrangement and draining for storage where required. Keep joints reachable. Route hot and cold pipes so they are supported, protected from rubbing and separated from incompatible heat sources. Follow the pipe system’s bending and fastening guidance.
Consider a suitable temperature-limiting arrangement with your installer. Test the delivered temperature in realistic use, including changes when another outlet is operated. A small hot-water store can change temperature quickly; a mixer handle position alone is not proof against scalding.
For a first water estimate, multiply the measured shower flow by the minutes the water is actually running. An illustrative 4 litres per minute for 3 running minutes uses 12 litres per person, before kitchen use. That is a worked example, not a claimed flow for an unspecified shower.
Repeat the estimate for everyone travelling and allow for grey-water capacity as well as fresh water. Shorter showers and a pause control may help, but the final system still needs to work when used normally. The heating guide explains the difference between water-only and combined space-and-water heating.
8. Make the room easy to dry
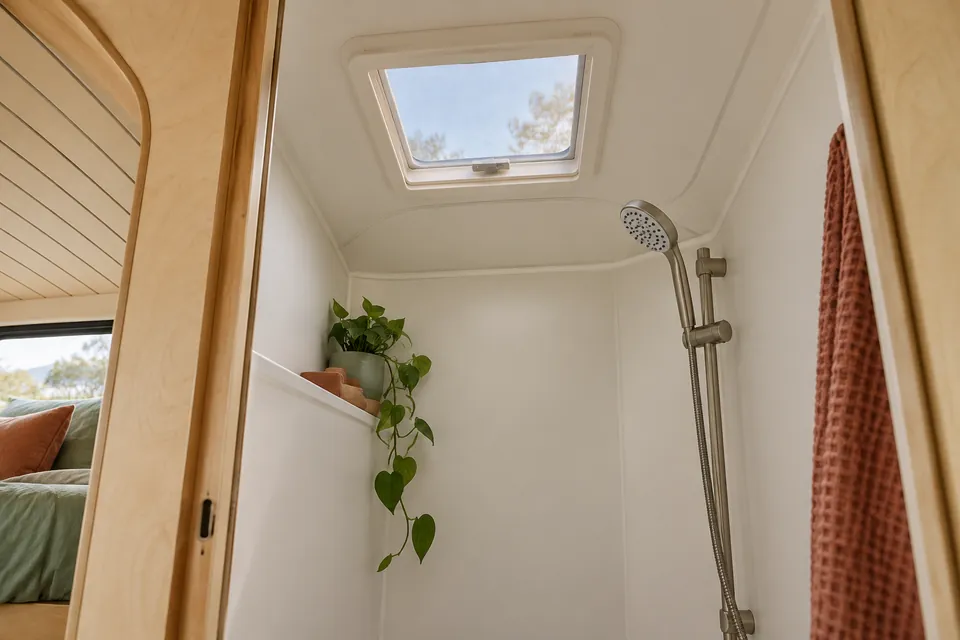
Plan how moist air leaves the room and how replacement air enters. A closed cubicle with no air path can remain damp after the living area feels dry. Coordinate a suitable vent or extraction arrangement with the overall van ventilation design.
If fitting a roof vent, account for solar panels, roof ribs, opening lids and the vehicle’s permitted cutting areas. Agree its position early, alongside the roof and solar plan. Do not remove or obstruct required permanent ventilation to make the room feel warmer.
Place towel drying and damp clothing storage deliberately. A towel hung over a vent or against an unfinished timber edge can undo the care put into the enclosure. Choose reachable surfaces that can be wiped after use and avoid decorative recesses that collect water.
After showering, remove standing water where practical and ventilate until the enclosure is dry. Keep seals and trims visible enough to inspect. If mustiness returns quickly, investigate trapped moisture or a leak rather than covering the smell with fragrance.
9. Keep toilet servicing practical
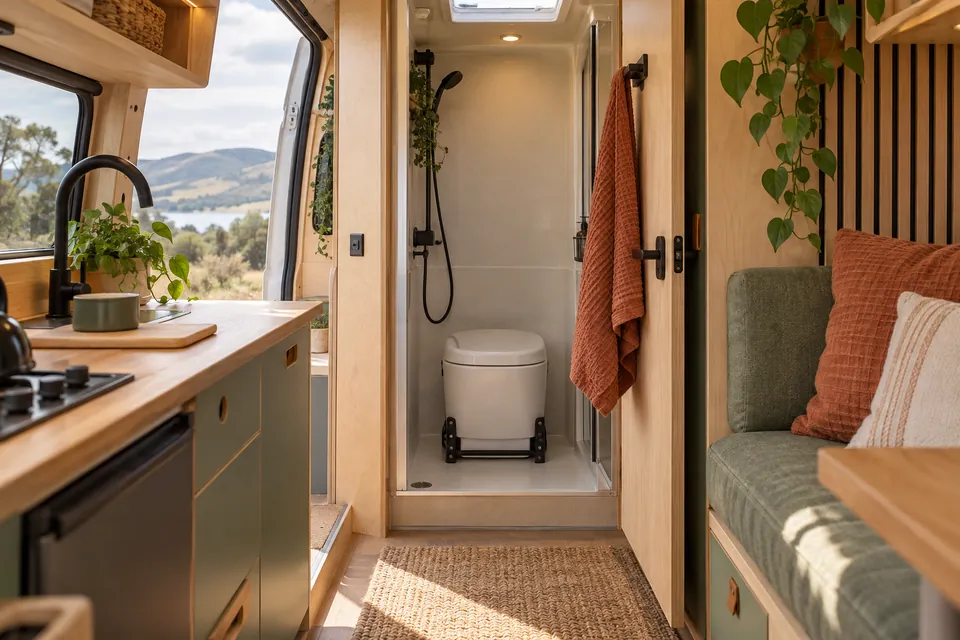
Try the full servicing routine before fixing the surrounding panels. Can the cassette or container be removed with the door open? Can a person carry it past the kitchen? Can the filler, flush reservoir, seals and ventilation parts be reached as the product requires?
For a fixed cassette system, use its model-specific installation manual for the mounting and service-door relationship. Thetford supplies separate installation information for its C260 family; the chosen model and arrangement must be confirmed before a body opening is made.
Use suitable travel retention for the actual toilet. A loose portable unit can move even if it feels heavy when full. Keep the securing method compatible with removal and with the tray or floor beneath it; do not invent a fixing through a waterproof surface without a proper sealing detail.
Follow the toilet maker’s instructions on permitted paper, chemicals, additives and cleaning products. Keep waste handling items separate from drinking-water filling equipment. Empty only at facilities that accept the particular waste stream, and check their local instructions.
Think about cleaning access behind the toilet and the transition around its base. A beautifully tight installation that traps dirty water or prevents tank removal is not a practical finished bathroom.
10. Keep electrical planning outside the splash zone
A wet room changes the conditions electrical equipment must withstand. Ask a competent installer to confirm locations, equipment suitability, protective measures and the applicable installation requirements for the actual van. A generic bathroom photograph cannot establish the permitted electrical zones.
Do not add an ordinary mains socket inside the enclosure. Position charging points and switches where they are suitable for the environment and cannot be splashed during normal use. A product being labelled 12 V does not by itself make it appropriate for a shower wall.
Extraction fans, toilet controls and waste pumps still need correctly designed circuits, isolation, cable protection and access. Use each equipment manual alongside the electrical design, rather than connecting an extra pump to the nearest convenient wire.
Keep the electrical routing guide and lighting guide alongside the bathroom plan. Resolve conflicts before the enclosure becomes a sealed box.
11. Test before closing, then test the finished room
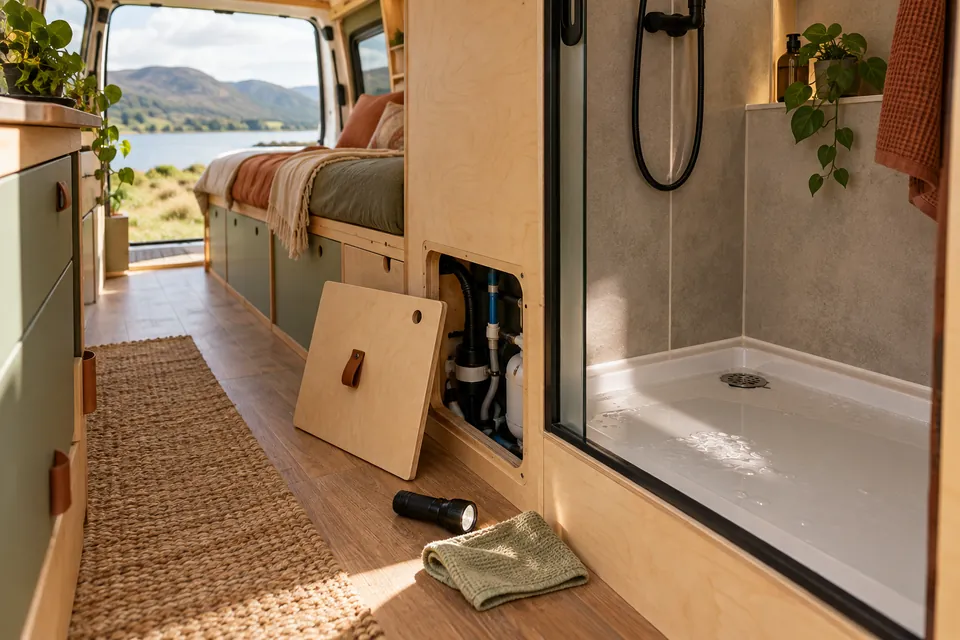
Allow adhesives and seals to cure for the stated conditions before wet testing. Use the test method appropriate to the tray and waterproofing system; do not improvise a deep flood test that the components or vehicle cannot support.
With service openings accessible, check fresh-water joints at the specified operating conditions. Inspect the mixer connections, drain fitting, hose route and tank connection. Dry the surrounding area first so a new drip is easy to identify.
Run the shower at its intended flow and confirm that drainage keeps up without water escaping the enclosure. Check splash containment at the doorway and corners, and inspect the accessible space beneath the tray afterwards. Stop and correct any leak before covering the area.
Try the controls, temperature, ventilation, toilet removal and door catches. Check access with the bed made and normal belongings in place. A room that works only with the rest of the van emptied is worth adjusting now.
After the first trips, recheck for movement, loose fittings, damp edges and changes in seal condition. Record the installation, manuals and inspection points for future maintenance. A dry-looking surface does not prove that hidden backing is dry.
12. Budget for the complete room
Compare complete arrangements rather than the cheapest tray against a finished bathroom kit. List the toilet, tray and compatible waste, wall system, trims, door or curtain, shower fittings, pipework, drainage, ventilation, securing hardware and consumables.
Add any required pump, service door, heating or electrical work, professional labour and remedial allowance. Check delivered prices against your actual specification. This guide does not supply current quotations or automatically change your saved equipment allowance.
A budget approach might use a good portable toilet, simple wipeable finishes and a suitable curtain instead of a fixed cassette and rigid door. Savings should come from simpler choices, not from omitting tray support, compatible waterproofing, drainage access or travel retention.
Include the weight of the enclosure, equipment and carried water in the whole-van payload plan. One litre of water adds approximately one kilogram, so extra shower capacity is also a weight decision. Confirm the finished vehicle’s actual weights rather than relying on a catalogue payload figure.
Your wet-room checkpoint
Before covering routes: choose the toilet and tray; try the finished space; agree permitted openings; reserve supply, waste, ventilation and electrical routes; plan support and inspection access.
Before using the room: complete compatible waterproofing and cure times; secure the toilet; check drainage and delivered temperature; test for leaks; prove servicing access and the drying routine.
Keep with the build: product models, receipts, instructions, photographs of hidden routes and the names of any installers. Mark unresolved items clearly instead of treating a completed-looking enclosure as a signed-off installation.
Product instructions to keep beside your plan
These are manufacturer references for the named examples, checked while preparing this guide on 2 November 2026. Use the current instructions for your exact model and ask the supplier about the intended vehicle application.
Thetford C260 support and installation manuals — model-specific toilet mounting and service arrangements.
Whale Gulper 220 installation guide — the manufacturer’s example of waste-pump mounting, connections and operating checks. Confirm suitability for your installation; it is not a generic specification for other pumps.
Also obtain the exact tray, panel system, adhesive, sealant, shower, vent and water-heater instructions before ordering the surrounding materials. The original illustrations explain planning ideas and do not replace their construction details.