
Stage 15 · Light where you need it, power within reach
Planning your campervan lighting and sockets
A comfortable van needs light over the places you actually use and charging points you can reach without trailing cables across the floor. Start with the bed, kitchen, table and entrance. Try the positions before cutting holes, then choose compatible fittings and have the electrical design checked.
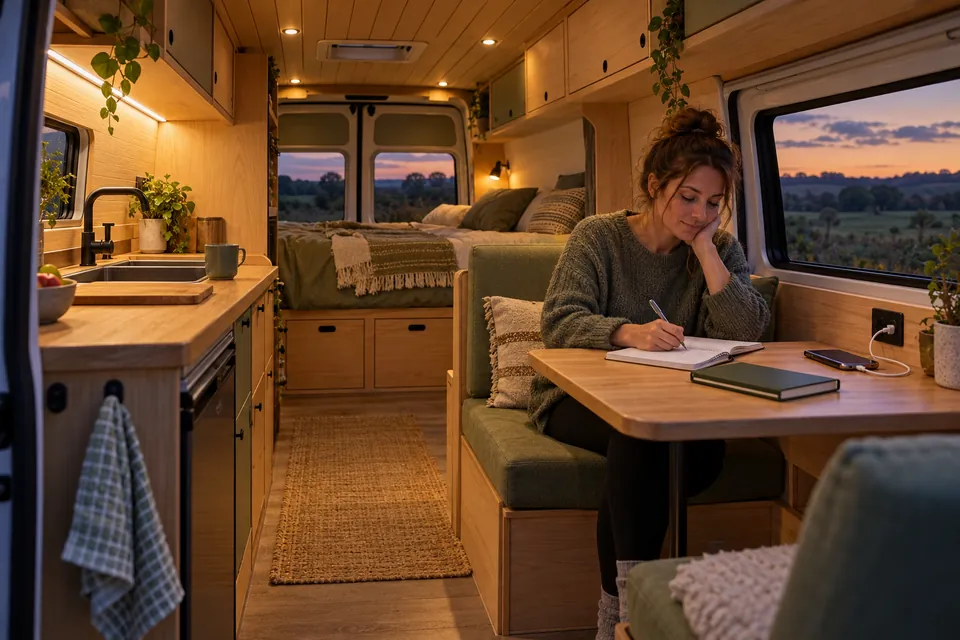
1. Plan around what you do inside the van
Imagine coming back on a wet evening. You open the door, put a bag down, make a drink, eat and get into bed. Where do you need to see clearly? Where would a bright light be annoying? That short walk-through is more useful than filling the ceiling with a neat grid of spotlights.
Use your existing furniture layout as the starting point. Draw a small light symbol over each working area and mark charging points beside the places where devices will sit. A sketch on paper is enough; this does not need to become another measuring project.
Separate the main jobs so you can use one area without lighting everything. A kitchen task light, a gentle living-area light and individual bedside lamps are often more useful than a single very bright circuit.
| Area | Useful job | Position to try |
|---|---|---|
| Entrance | Find your footing and the first switch | Reachable before stepping fully inside |
| Kitchen | See the preparation surface | Light falls in front of you, without being blocked by your body |
| Table or seating | Eat, read or work | No glare in your eyes or reflection across a screen |
| Bed | Read and get up during the night | A small controllable light within reach of each sleeper |
| Storage | Find things without unloading the cupboard | A protected fitting that luggage cannot strike |
For a convertible bed, repeat the exercise in both day and night arrangements. A socket that works beside the seat may disappear behind a cushion or bed board when you need it most.
2. Choose a useful amount of light
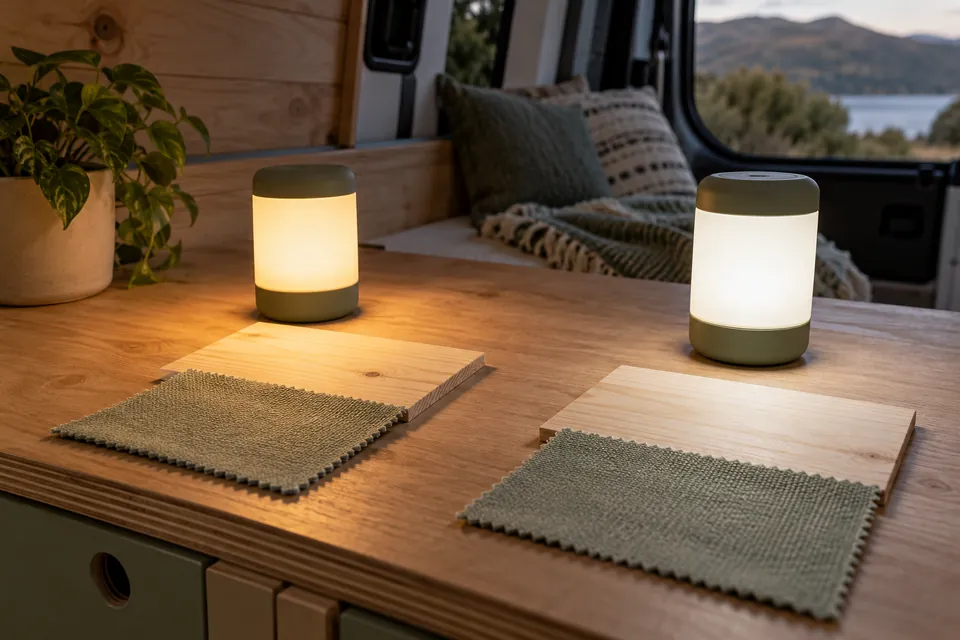
Brightness and colour are different choices. Lumens describe light output; watts describe electrical input. A higher wattage does not automatically give you a better view of the worktop, and a cool-looking light is not necessarily brighter than a warm one.
Warm white around 2,700–3,000 K is a useful sample to try for a relaxed living area. Neutral white around 4,000 K may suit a preparation or reading area. These are starting preferences, not rules: compare samples against your actual timber, worktop and upholstery before buying a full set.
Look at the light from where you will sit or lie down. A fitting can look attractive from the doorway and shine straight into your eyes from the bed. Diffusers, sensible positioning and compatible dimming can help, but they do not replace trying the light at the intended distance.
Check the exact fitting's voltage range, mounting instructions and dimming method. A product described simply as “12 V” is not automatically suitable for every leisure-battery system throughout charging and discharge. Some vehicle fittings accept a wider supply range; others need the maker's specified supply arrangement. Have the complete combination confirmed.
If you want dimming, match the lamp or strip to its controller, voltage and load limits. Do not assume a household mains dimmer works with low-voltage LEDs, or that a lamp with its own touch control accepts an additional external dimmer. Buy a small compatible sample first and check the result.
3. Put the kitchen light over the work
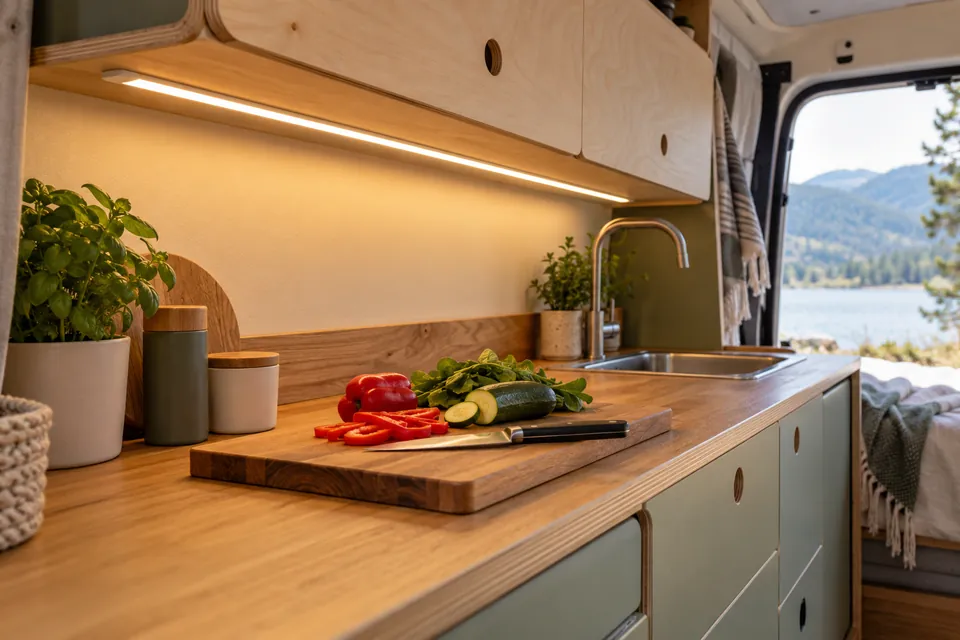
A ceiling light behind your shoulders can leave the chopping board in shadow. Try a light under the overhead cupboard or a suitable surface fitting that puts light onto the preparation area. Keep the light source out of your normal eye line where practical.
Check the whole worktop with cupboards open and closed. A light hidden behind a front lip may give an attractive glow but little useful light on the board. A strip with exposed bright dots may be unpleasant to look at; a suitable profile and diffuser can make the result more comfortable.
Account for steam, splashes, cooking heat and cleaning. Follow the hob and light manufacturers' requirements, including clearances and mounting materials. A picture of a fitting near a kitchen is not proof that it is suitable there.
Do not hide a light's driver, controller or connections behind permanently sealed lining. Leave the service access, ventilation and support required by the selected equipment. If the product requires a heat-dissipating profile or particular mounting surface, adhesive tape on timber is not an equivalent substitute.
A simple, independently switched task light is often a better first purchase than a long decorative strip around the entire van. You can still add gentle background light where it has a useful purpose.
4. Give each sleeper control
Sit against the pillows and reach for the proposed reading light. You should be able to switch it off without climbing out of bed. Aim it at the book or lap rather than across the other person's face.
Small adjustable lamps can work well, but check their projection into the sleeping space. A hard fitting beside your head, or one that catches bedding when the bed folds, will quickly become irritating. Confirm the mounting surface is suitable and the lamp stays secure during travel.
Put a charging point beside a dry, secure place for the phone. Keep devices and charging equipment clear of bedding and follow their ventilation guidance. Do not plan to leave a charger buried under a pillow or mattress.

Check indicator lights as well as the main lamp. A charging socket's bright blue ring can feel surprisingly strong in a dark van. Ask whether indicators can be disabled or choose a fitting that suits the sleeping area. Check any standby consumption and the intended shutdown arrangement.
5. Rehearse the switches before drilling

Put the first useful light control where you can find it on entering. Check it is not behind the open sliding door, blocked by a coat or hidden by the kitchen end panel. You should not have to reach over a cooker or into a dark cupboard.
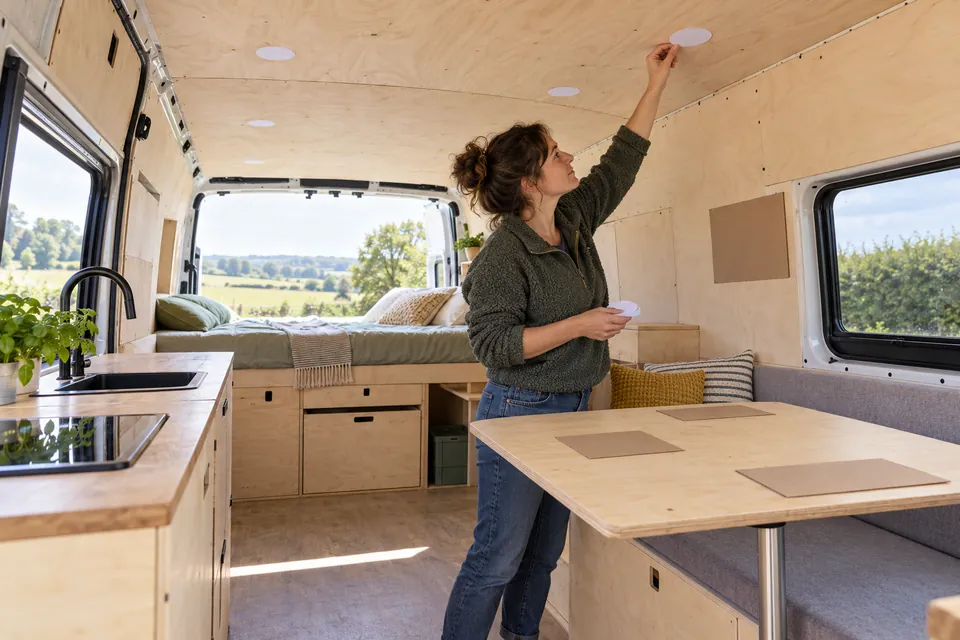
Mock up a switch plate with cardboard or removable tape. Try it standing, seated and in bed, with the furniture in its finished position. Include everyone who will use the van: comfortable reach differs between people.
Keep controls understandable. A few clearly identified groups are easier to live with than a large panel of identical switches. If you want control from two locations, ask the installer to design it for the chosen lamps and controller; two ordinary switches are not automatically the right solution.
Leave space behind the plate for the actual back box, terminals and cable bend requirements. Confirm the assembly is supported and serviceable. The visible front dimensions alone do not tell you whether it fits inside a thin lining panel.
6. Choose charging points for your real devices
List the devices you actually take: phones, tablet, camera, laptop, torch or router. Note the charging requirements from each device and its approved charger. Then decide where the device will rest while charging.
A USB-C connector describes the shape, not a promise that it will charge every laptop. Check the supported charging protocol, voltage profiles, power available at your van's input voltage, cable rating and how output is shared when both ports are used.
Some chargers deliver different maximum outputs on 12 V and 24 V supplies. Read the actual data sheet rather than relying on a large wattage printed in an advert. A charger that maintains a phone may be inadequate for a laptop running at the table.
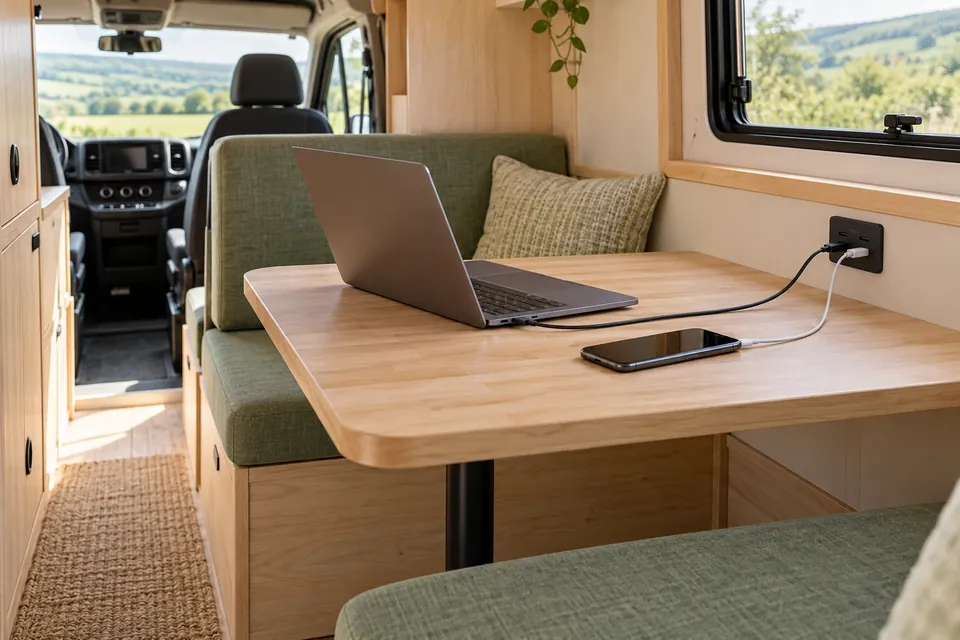
For a round accessory socket, check the rating of the socket, plug, appliance and complete circuit. A splitter adds outlets, not electrical capacity. Keep plugs supported where they cannot be kicked, and do not hang several adapters into an aisle.
Allow enough room for the plug and cable when furniture moves. Check drawers, seat cushions and cupboard doors. Secure devices for travel using a suitable arrangement; a cable is not a restraint. Avoid charging on a wet draining board or routing leads over the cooking area.
A compatible DC charging option may let you meet a small device's needs without running an inverter. Compare actual products rather than assuming every DC adapter is suitable or every inverter is wasteful. Include conversion losses and standby use in your plan where relevant.
7. Decide what a 230 V socket is for
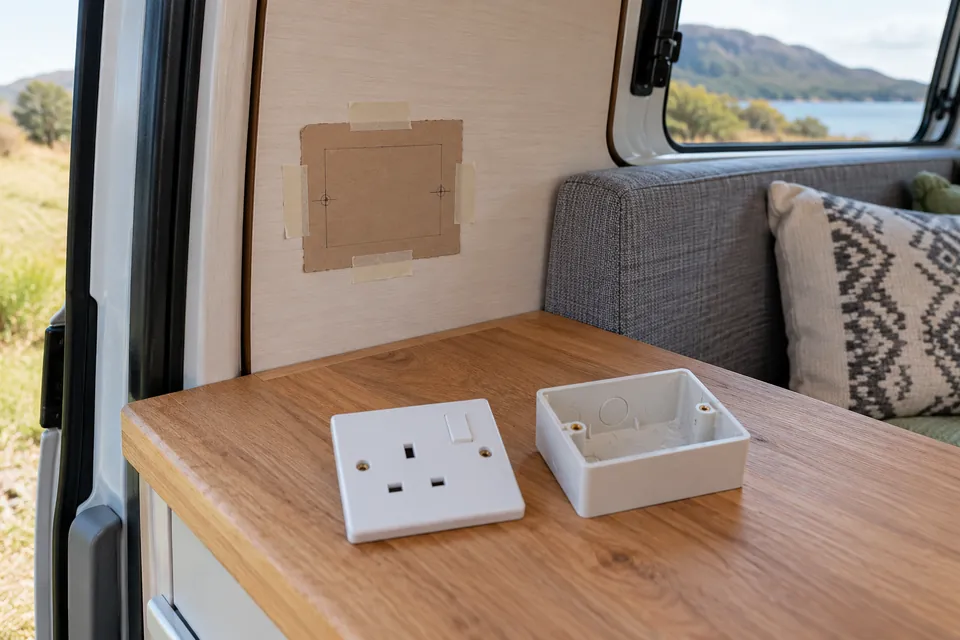
Start with the appliance, not the number of sockets. If you need a laptop charger or another mains appliance, decide whether it will run from a campsite hook-up, a suitably designed inverter system or a self-contained power unit used according to its instructions.
A socket supplied only by hook-up will not work off grid. An inverter-fed socket is limited by the whole battery and supply system, not just the shape of the outlet. A household kettle or heater can be a very different load from a phone charger.
Have fixed 230 V wiring, protection, earthing, source switching and verification handled by a competent installer familiar with leisure vehicles and the current applicable requirements. Ask for the appropriate installation documentation and a clear explanation of which sockets work from which source.
Do not connect an inverter output into another socket, the hook-up inlet or an existing circuit using an improvised lead. Do not join power sources or improvise neutral-to-earth links. Those arrangements depend on the exact equipment and system design.
Put outlets where plugs remain accessible and leads can stay clear of the sink, hob, walkway and moving furniture. There is no universal safe distance supplied by this guide. Let the installer confirm the permitted location, enclosure and separation for the actual layout.
8. Treat the wet room and entrance as different environments
A wet-room light needs to be suitable for its precise location and the water exposure it can receive. Ask the installer to confirm the relevant requirements and the selected fitting's suitability. “Low voltage” or a water-resistance claim on its own is not approval for any position in a shower.
Water-protection ratings can depend on how the product is fitted, how connections are enclosed and whether a cap is closed. A protected front face does not necessarily protect the wiring behind it. Keep ordinary charging points out of the shower and agree the complete arrangement before making holes.
At the entrance, try a modest light that helps you see the step without shining into neighbouring vans. An exterior fitting must suit weather, mounting and sealing requirements. Confirm any body penetration and cable route with the vehicle and product guidance. Keep controls straightforward and switch unnecessary outside light off.
Do not obstruct a door mechanism, grab point, blind, emergency access route or required ventilation opening. Check the door through its full movement with any fitting and cover in place. A porch light is useful only if it leaves the entrance practical.
9. Check what is behind the tidy front
Choose the actual products before cutting final holes. Surface-mounted fittings can avoid some recess-depth problems, while recessed lights need the specified clearance and support. Neither style is automatically suitable for your ceiling or furniture.
Use the manufacturer's template and verify behind the intended cut: structural ribs, existing wiring, pipework, insulation and fixing points may be hidden there. Do not cut a structural part of the van to make a lamp fit. Agree any change to bodywork with the appropriate vehicle guidance and specialist.
Plan accessible connection points, protected cable routes and suitable support before the panels go on. Keep mains and extra-low-voltage systems arranged as the electrical design requires. Do not use one generic cable size or fuse value for every lamp, charger and socket.
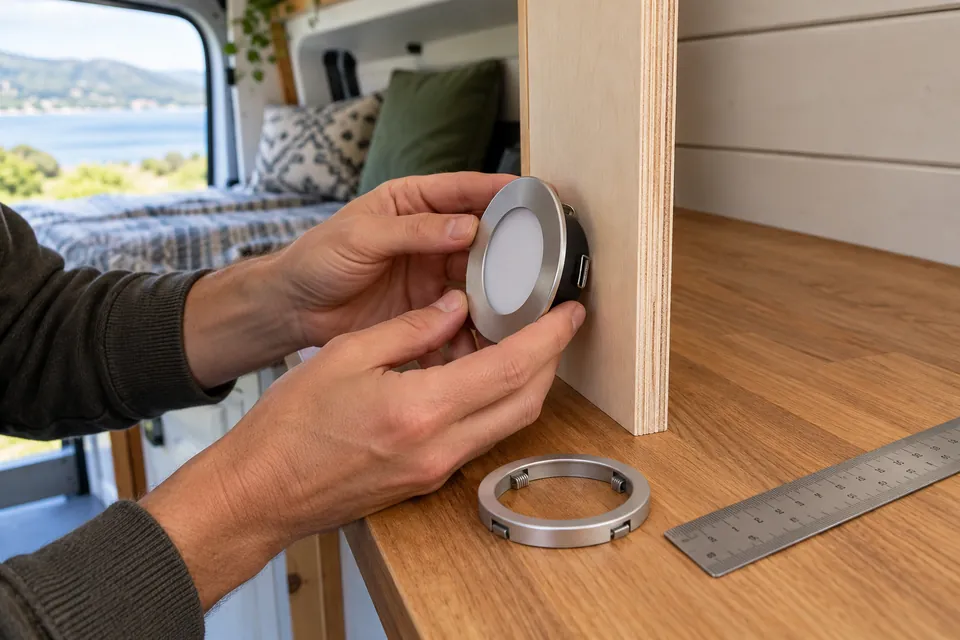
LED strips have their own cutting, support, cooling, maximum-run and supply requirements. Follow the exact product instructions; do not apply another strip's cut spacing or roll length to yours. Never assume a coiled reel is a suitable operating installation.
Keep a route record and photographs before closing in. Mark which removable panel provides access to each controller or connection. A future repair should not require guessing where a cable runs or tearing apart the finished ceiling.
Optional: a quick lighting-use example
You can start with a few useful lights and your planner's approximate allowance. If you want a closer look, multiply a light's input watts by the hours you expect to use it. This gives watt-hours, a useful way to compare daily use.
| Illustrative lights | Input power | Time | Daily energy |
|---|---|---|---|
| Four ceiling lights at 2 W each | 8 W combined | 3 hours | 24 Wh |
| One worktop light | 6 W | 2 hours | 12 Wh |
| Two reading lights at 2 W each | 4 W combined | 2 hours | 8 Wh |
| Example lighting total | 44 Wh per day |
These are invented planning loads, not a product bundle or battery-size recommendation. Use the actual fittings' input figures and realistic use. Add charging, fridge, pump, heating controls, controllers and conversion losses separately where applicable. This example does not calculate battery autonomy, cable size or circuit protection, and it does not change your saved plan.
10. Do an evening walk-through
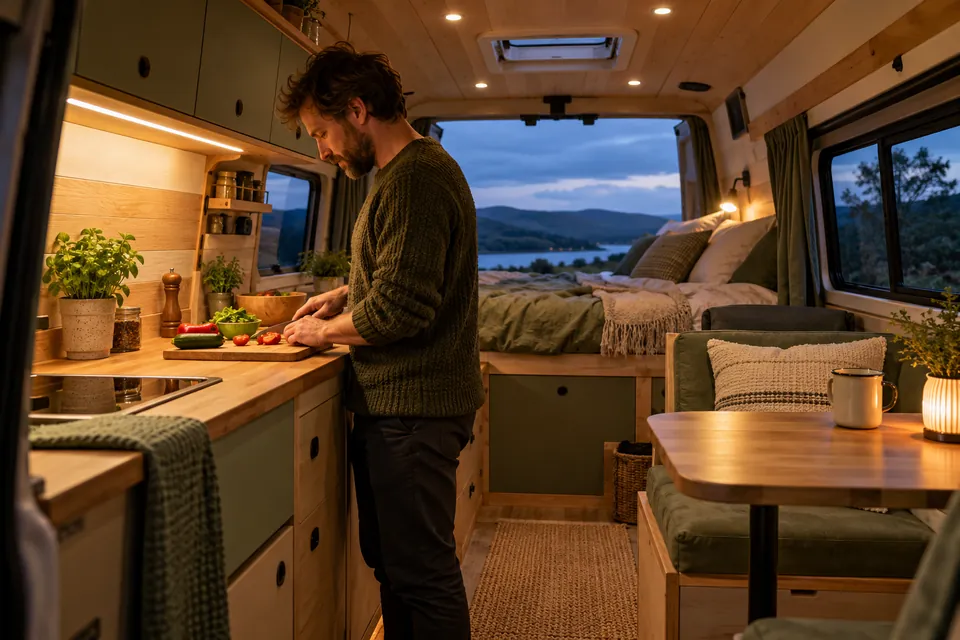
After installation and the required electrical checks, try the van in low light. Enter, put a bag down, use the kitchen, sit at the table and lie on the bed. Check whether you can reach the controls and see the jobs clearly without lighting the whole van.
Try the dimming range and every intended combination of lights. Look for flicker, distracting indicators, glare on a screen and shadows across the worktop. Confirm the charging points work with the actual device and cable, including any shared-port limitation.
Open drawers and doors, make up any convertible bed and load the storage. Check that leads remain clear and fittings are protected. Keep access to all isolators and service points.
If a fitting flickers, a connection behaves intermittently, a plug becomes unusually hot, something smells overheated or protection operates, switch off and have the cause investigated. Do not fit a larger fuse to stop a fault. An evening walk-through is a usability check, not a substitute for electrical verification.
Record the equipment, circuit labels, operating instructions and maintenance requirements. After initial trips, inspect accessible fittings and supports as directed by the installer and manufacturers. Address movement or damage promptly rather than hiding it behind trim.
Tools, time and a sensible allowance
For planning, a notebook, removable tape, cardboard, torch and a few fitting samples are enough. For fitting work, use the actual templates, appropriate tools and the agreed electrical design. Buy specialist tools only when you know who will carry out that part of the work.
Allow an evening for mocking up positions and another after installation to try them in the dark. Fitting time depends on access, the ceiling, the products and the electrical work required; a decorative lamp price says little about the whole installed cost.
| Small lighting-and-charging example | Rough planning allowance |
|---|---|
| Four modest ceiling fittings | £40–£80 |
| A pair of reading lights | £30–£70 |
| A kitchen light with required mounting parts | £20–£60 |
| Two suitable device-charging points | £30–£90 |
| Switches, surrounds and small mounting accessories | £20–£60 |
| Illustrative fittings allowance | £140–£360 |
These are broad editorial estimates dated 2 November 2026, not checked delivered quotations or a complete electrical kit. They exclude main wiring and protection, battery, distribution, inverter, hook-up system, mains sockets and installation or testing labour. Check each basket's included parts and delivery. Do not add this example on top of the same fittings already allowed for in your build budget.
Save money by fitting fewer useful lights, choosing simple compatible controls and testing one sample before buying the rest. Keep suitable protection, service access and installation checks in the budget. More decorative lighting can wait until you know how the van works in everyday use.
Before closing the panels
- The kitchen, table, bed and entrance each have a useful lighting plan.
- Positions have been tried with doors, cupboards and any convertible bed in use.
- Fittings, controllers, supplies and charging requirements have been checked together.
- Real back boxes, recess depths, supports and service access fit the intended panels.
- Wet-area and exterior suitability has been confirmed for the precise positions.
- Fixed mains work and any source switching have an agreed competent installer and verification route.
- Cable routes and accessible connection points are recorded before lining is closed.
- Costs appear once in the build budget, with installation and electrical infrastructure allowed for separately.
You are aiming for a van that is comfortable and straightforward to use after dark. A handful of thoughtfully placed lights and outlets can do that job without making the build complicated.
Product instructions and further reading
Use the current instructions for your exact fittings and electrical equipment. Sources consulted for this original guide include Aten's vehicle downlight specifications, Aten's compatible dimmer information, LED Lighthouse's example strip data sheet Scanstrut’s charging specifications and Blue Sea's vehicle/marine USB charger information. Product examples demonstrate why specifications vary; they are not a recommended complete system.
For the wider build, return to electrics and cable routing. The IET’s current wiring-regulations guidance is a starting point for electrical requirements. A competent leisure-vehicle installer should apply the current requirements and manufacturer instructions to your specific mains, inverter and low-voltage arrangements.