
Stage 2 · Bring in light and fresh air
Fitting windows and planning ventilation
A window can make an empty panel van feel like somewhere you want to spend time. A well-planned ventilation setup helps with cooking smells, damp air and comfortable nights. Plan both together, before insulation hides the metalwork.

Choose what each window needs to do
Think about where you will sit, cook and sleep. A view from the seating area is useful; a window hidden behind a cupboard is an expensive way to lose storage space. You may want opening ventilation near the kitchen and a view at the bed, rather than glass in every panel.
| Type | What it offers | What to check |
|---|---|---|
| Vehicle-specific bonded glass | A shaped pane bonded to the outer body, giving a fairly flush van-style appearance. Fixed and some opening versions are available. | Correct van, generation, panel and side; glass curvature; bonding surface and complete adhesive system. |
| Framed opening window | An outer and inner frame, often with an opening acrylic pane and optional blind/flyscreen. | Cut-out size, panel curvature, finished wall thickness, frame support and opening clearance. |
| Rooflight | Daylight and opening ventilation without using a side-wall furniture position. | Roof shape, thickness, opening mechanism and whether the exact variant has permanent ventilation. |
| Powered roof fan | Controlled air movement, useful when cooking or managing warm, humid air. | Exact opening, roof support/adapter, lid clearance, make-up airflow and suitable electrical supply. |
Fixed glass supplies daylight, not an opening for fresh air. A tinted pane still needs a privacy plan after dark. For opening windows, decide whether you want a sliding or outward-opening design and check it against the van’s moving doors.
Keep it affordable: choose windows for a reason. Fewer well-positioned openings may work better than a larger shopping list, but required safety ventilation must still be properly designed.
1. Try the positions before you cut anything
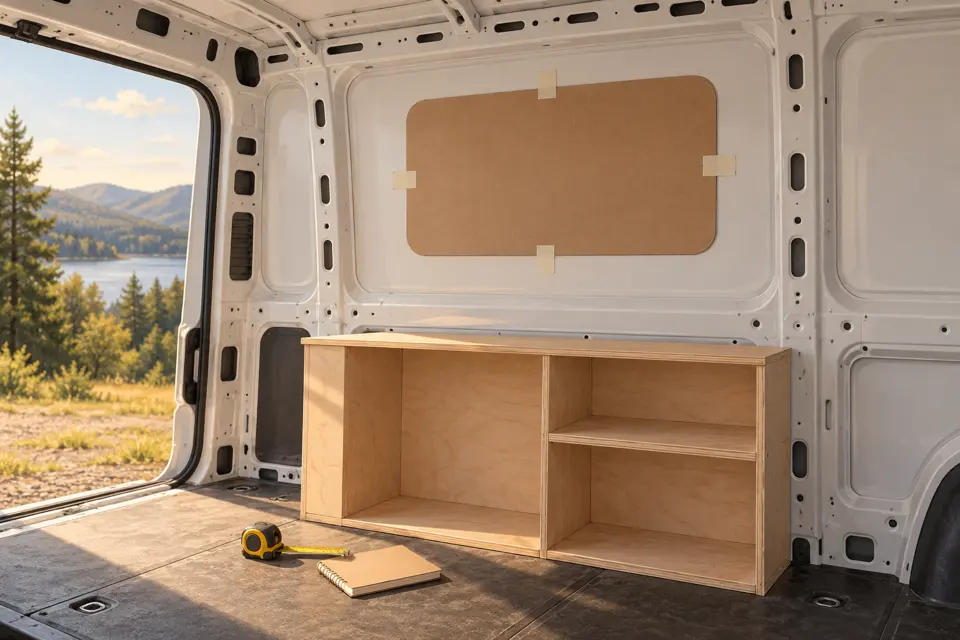
Use cardboard or masking tape to try the proposed window outline. Sit at your intended seating height, stand at the kitchen and imagine the bed made up. Then look at the same position from outside. A comfortable interior height can look different against the body’s outer panel lines.
- Furniture: leave room for the worktop, mattress, wall lining, blind cassette and cupboard doors.
- Sliding door: check the full door travel and the projection of handles, stays and an open window. A window that opens into the sliding door’s path needs a different position or a manufacturer-approved arrangement.
- Rear doors: allow for hinges, stops and the actual door opening arc.
- Body shape: a rectangular window does not automatically suit a curved or tapered wall.
- Services: find wiring, fuel or other equipment behind and below the work area.
- Structure: identify load-bearing ribs, pillars and bonded or reinforced joints before marking a cut.
Do not assume the pressed outline inside a van panel is a ready-made cutting line. Check the manufacturer’s body conversion guidance for the exact vehicle. If a chosen opening crosses structural metalwork, stop and get a suitable approved design or professional advice.
The exterior pictures in your CamperSteps plan are placement ideas. They do not measure body curvature, locate every rib or generate a manufacturer-approved cut-out.
2. Plan an air path, not just a fan
A fan moving air out needs a suitable route for replacement air to enter. Think about where air comes in, how it passes the occupied space and where it leaves. Two openings next to each other may exchange air locally while doing less for the far end of the van.
For everyday comfort, consider fresh air near the sleeping or seating area and extraction where moisture or cooking smells build up. Check whether an opening can be used in the weather you expect, how much noise it makes at night and whether furniture blocks the route. A flyscreen or blind can also affect airflow.
Some rooflights are sold in versions with and without permanent ventilation. Confirm the exact version and its stated ventilation provision rather than relying on a photograph or the family name. For gas appliances, follow their installation instructions and get competent advice on the whole installation.
Ventilation helps remove humid air; it cannot guarantee there will be no condensation. Wet clothing, cooking, cold metal, insulation and how you use the van all affect moisture. Make space to dry wet items without covering vents.
3. Check the actual product before ordering
This is one stage where approximate planning dimensions need to become confirmed measurements. Keep the rough layout simple, then measure the intended opening location for the exact products you are considering.
- Confirm identity. Record the van’s model, generation, body size, door/panel and the supplier’s exact product code. “Transit window” is not enough.
- Separate dimensions. Note the cut-out, outer frame, interior trim and opening sweep. They are different measurements.
- Check wall or roof thickness. Include the support frame and finished build-up where the product instructions require them, not just the outer steel skin.
- Check shape and support. Ask whether the frame needs a flat mounting face, vehicle-specific adapter or particular reinforcement.
- Read the fitting documents. Identify the specified sealant/bedding or adhesive, surface preparation, fixings and curing conditions before you buy.
- Check the package. Are the blind, flyscreen, inner frame, adapter, trim, wiring accessories and fitting consumables included?
Inspect delivered windows and frames for damage and check the product against the paperwork before cutting. Keep the packaging and instructions. Do not cut from an online thumbnail, an approximate planner rectangle or a nominal “900 mm window” description.
Tools and materials to plan for
| Task | Useful items | Check first |
|---|---|---|
| Planning and marking | Product template, tape measure, suitable masking tape, marker, straightedge | Template is for the exact product and printed at the correct scale if applicable. |
| Protecting the van | Protective covers, masking materials, safe cut-panel support and swarf collection | Both sides of the panel and nearby equipment are accessible. |
| Cutting and finishing | Manufacturer-appropriate cutting tools/blades, deburring tools and abrasives | Tool and blade suit the thin vehicle metal and safe working position. |
| Edge protection | Compatible cleaner and corrosion-protection coating system | Coating is compatible with the later adhesive or sealant and can cure in time. |
| Fitting | Specified support/adapter, fixings, adhesive or bedding system, applicator and helper | Supplies are within shelf life and suitable for the actual glass, frame and bodywork. |
| Protection and access | Eye/hearing protection, task-appropriate gloves, dust control and stable working platform | Access is safe; a thin van roof is not a work platform. |
Large panes are awkward and easily damaged. Arrange a helper or professional fitter rather than trying to hold the glass, control the adhesive and align it alone. If you are uncomfortable making the cut, a window fitter can complete that part while you do the layout and preparation.
4. Mark, check and prepare the work area
Do this while the shell is accessible. Remove or safely protect the lining, insulation and services around the intended opening. Work only after existing electrical or other systems in the work area have been identified and made safe.
- Position the exact template using the vehicle and window instructions. Check orientation, side and any required corner radius.
- Check inside and outside. Confirm the cut line, not just the outside trim, misses restricted structure and services.
- Allow for the tool’s path and the removed panel. The blade or drill can extend beyond the surface you can see.
- Protect paint, glass, trim and equipment from scratches and hot swarf. Plan how the loose panel will be supported as the cut finishes.
- Arrange dry weather or sheltered work and enough time to protect or close the opening. Do not leave an exposed cut-out open to rain overnight.
A useful pause: step back, check the product code once more and ask another person to compare the intended position with the instructions. Correcting tape is easy; correcting a hole is bodywork.
5. Cut carefully, then protect the exposed edge
Use the method and opening shape specified for the product and vehicle. A suitable jigsaw or other approved cold-cutting method may be used for thin panel work; do not assume an angle grinder is the default. Control dust, noise and swarf, and keep the cut section supported so it cannot fall or tear the last part of the panel.
Do not cut a structural rib simply to make the window fit. If you discover hidden reinforcement, unexpected wiring or a larger corrosion problem, stop and reassess. Do not enlarge a cut repeatedly by eye until the frame “sort of fits”.
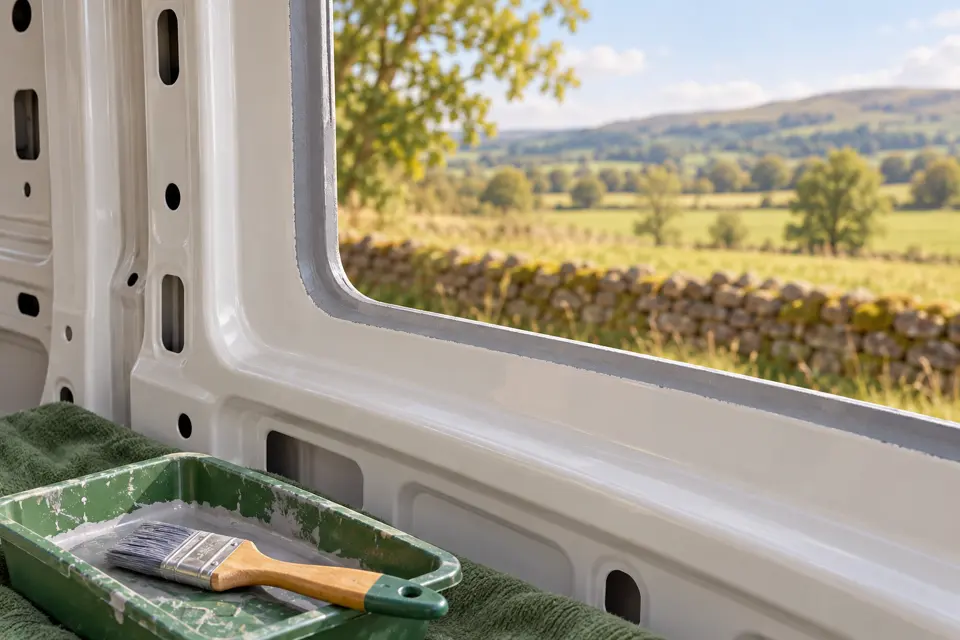
Remove burrs and sharp edges with an appropriate method. Clear every accessible shaving from floor channels, seams and cavities; small steel filings left behind can create rust marks. Follow the cleaning and corrosion-protection process compatible with the later bonding or sealing system.
Let the edge coating cure as specified. Do not assume glass primer replaces the body’s corrosion-protection coating, or that fresh ordinary paint provides an approved bonding surface. The adhesive supplier and window instructions need to agree on the complete substrate preparation.
Where the instructions permit it, check the frame’s fit before applying the final sealing system. A trial fit should confirm alignment and support without forcing the metal flat or scratching the newly protected edge.
6. Follow the fitting method for your window type
Bonded vehicle glass
Have the correct pane and compatible bonding system ready. Check glass preparation, body preparation, any required activator/primer, application conditions and the specified bead profile. A cartridge labelled “sealant” is not automatically a glass-bonding adhesive.
Follow the system’s open time and positioning instructions. Keep prepared bonding faces clean and handle the pane with appropriate support. The adhesive thickness and contact must follow the system; squeezing a pane as hard as possible against the van is not a substitute for correct installation.
Observe the stated handling, water-exposure and safe movement/drive-away requirements for the actual application and conditions. A time quoted for another vehicle or adhesive is not a universal permission to drive. Use a competent automotive-glass fitter when you cannot confirm the process.
Framed opening windows
A framed unit needs the correct opening and a supported wall build-up within its specified thickness range. Any timber or other support frame must match the product and vehicle guidance; it should not distort the thin outer skin.
Use the specified bedding or sealing material, assemble the inner/outer frame correctly and tighten fixings in the instructed sequence and to the stated limit. Overtightening can distort a frame or panel. Keep designed drainage routes open.
Before finishing the lining, check the latch, stays, blind and flyscreen. Open the window fully where safe and check doors and furniture through their normal movement. Nothing should rely on remembering never to open one item while another is moving unless a suitable manufacturer-approved arrangement controls it.
Neither method has one universal sealant rule. A bonded glass kit and a framed-window bedding system are different purchases; do not automatically add both to every window.
Roof fans and rooflights: plan the whole roof
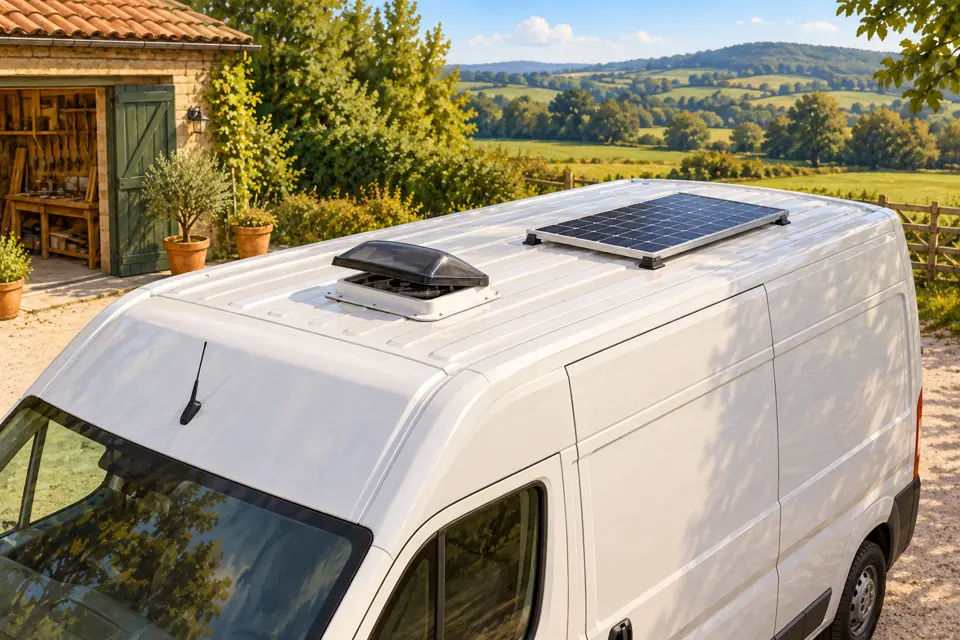
Map the roof fan, solar panels, cable glands, racks and any aerials together. Check the lid when fully open, the fan’s intake/exhaust area, access to fixings and the space needed to clean or replace parts. Also check the ceiling layout below, including cupboards, lights and any shower partition.
Use the exact fan or rooflight manual: nominal roof openings differ between products and variants. Do not assume every fan uses a 400 × 400 mm hole, or that an American installation size is the size of the UK unit you bought. Observe the specified travel orientation and overhang.
Ribbed roofs may need a suitable adapter or other approved mounting arrangement to provide the required sealing face. An inner support frame can help support the assembly where specified; it must not crush the roof or obstruct the unit. Do not fill an unsuitable gap with a huge bead of sealant and hope it becomes an adapter.
Follow the product’s fastening and sealing instructions, including how screw holes and the flange are sealed. A visual bead around the outside is not evidence that the bedding underneath is sound. Do not cover drainage or ventilation openings.
Plan powered-fan wiring before the ceiling is closed. Have the actual voltage, polarity, cable route, fuse/protection and connections designed for the fan and supply. Keep wiring protected at metal edges and accessible where maintenance requires it. This guide does not size the electrical circuit.
Use stable access equipment for roof work. Do not stand on a rooflight, fan lid or unsupported roof skin. Record the finished vehicle height including the highest roof equipment for later route planning.
7. Allow the cure time, then check for leaks
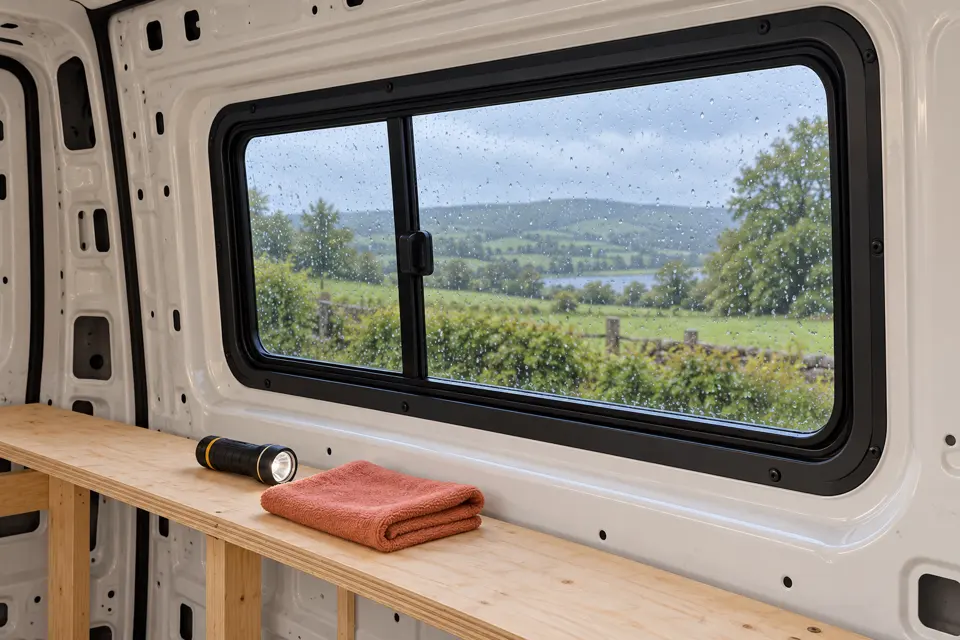
Keep the opening supported and protected for the period stated by the manufacturer. “Dry to touch” does not necessarily mean fully cured, ready for a hose test or safe to move. Respect the different times and conditions in the actual instructions.
Once water exposure is permitted, check gently with someone watching inside. Use a controlled low-pressure water flow over the outside to mimic rainfall, rather than driving a pressure-washer jet into a seal. Keep water away from exposed electrical equipment and check one area at a time so a leak is easier to locate.
Inspect the full inside perimeter, corners and lower edge for fresh tracks or dampness. Check the roof unit too. If water appears, locate and correct the fitting fault using the product guidance; do not hide it with lining or automatically smear household silicone over everything.
Dry the area, repeat an appropriate check after repair and inspect again after natural rain. Keep a few photographs of the bare installation and note the product, adhesive/sealant and fitting date. Recheck seals and fixings according to the maker’s maintenance guidance.
Time and budget: allow for fitting parts too
Give yourself a planning session before booking the fitting day. A first installation can take longer than the cutting itself: access, masking, trial fitting, cleanup and cure times all count. Keep a dry-weather margin rather than promising the van will be ready to drive that afternoon.
| Example planning scope | Editorial hardware allowance |
|---|---|
| Two side windows, depending on size/type | £400–£1,200 for the pair |
| One powered roof fan | £200–£400 |
| Adapters/support, protection, specified fitting consumables and small parts | £100–£250 |
That example is roughly £700–£1,850 before labour. These are broad planning estimates, not live supplier quotes or a complete installation kit. Vehicle-specific glass, premium windows, extra rooflights, electrical work, tools, delivery and professional fitting can change the total considerably. Ask for an itemised fitting quote and confirm what it includes.
Use the Standard/Budget window and roof-fan rows in your equipment list for the products you actually choose. Count quantities carefully and replace assumptions with full delivered prices. Do not add this guide’s example total on top of the same selected items. A cheaper window with the wrong shape or missing frame is not a saving.
Common mistakes to avoid
- Ordering by van name alone: body generation, side and panel location matter.
- Using the outside frame size as the cut-out: obtain the exact template and corner detail.
- Ignoring finished thickness: a bare steel wall is not the complete frame build-up.
- Forcing a flat frame onto a curved panel: confirm a suitable product or mounting solution first.
- Forgetting the sliding door: check the open window, handles and full door travel.
- Leaving fresh metal or swarf unprotected: resolve both before hiding the area.
- Using whatever sealant is in the toolbox: follow one compatible fitting system.
- Buying a fan without an air path: plan replacement air and permanent safety ventilation separately.
- Insulating before testing: keep access until curing and leak checks are complete.
Your checkpoint before sound treatment and insulation
- Exact windows and roof equipment match the intended vehicle locations.
- Structure and services have been checked; required support/adapter arrangements are in place.
- Cut edges and fixing holes are protected, and accessible swarf is removed.
- Doors, windows, lids, blinds and planned furniture have the necessary clearances.
- Required curing and safe-movement conditions have been met.
- Leak checks are satisfactory with the interior still accessible.
- The airflow plan and any required permanent ventilation have been properly reviewed.
- Roof-fan electrical work is safely arranged, with routes planned before lining.
- Product instructions and installation photos are kept for maintenance.
This is a planning checkpoint, not installation approval or a certification of ventilation, escape provision or vehicle structure. Once the openings are sound and dry, sound treatment and insulation can follow without covering up an unresolved job.
Instructions and further reading
Original CamperSteps writing and illustrations. Use the current instructions for your exact product and the vehicle manufacturer’s conversion guidance. Illustrations show the stage of work, not measurements or a fitting specification.
- Dometic: checking window wall thickness and support.
- Sika: automotive glass bonding systems and product documents.
- Maxxair: installation questions and unit orientation; manufacturer’s document index—match the downloaded manual to your unit.
- Dometic rooflight with permanent ventilation and a variant without it—an example of why variant selection matters.
- NCC: campervan heating and safety ventilation.
- Ford Pro: conversion guidance and body-manual requirements—obtain the appropriate body manual for your own make and model.
- HSE: safe motor vehicle repair.
Sources checked 1 November 2026. Costs are editorial allowances; no measurement, illustration or checklist on this page confirms exact fit or compliance.
← Preparation and rust treatmentNext: Solar panels and battery charging →