
Stage 12 · Make the living area comfortable and practical
Seating, cushions and upholstery for your campervan
A comfortable bench starts with how you sit, not the colour of the fabric. Try the height and depth with real cushions, build a supported base, then choose covers you can remove and storage you can actually reach.
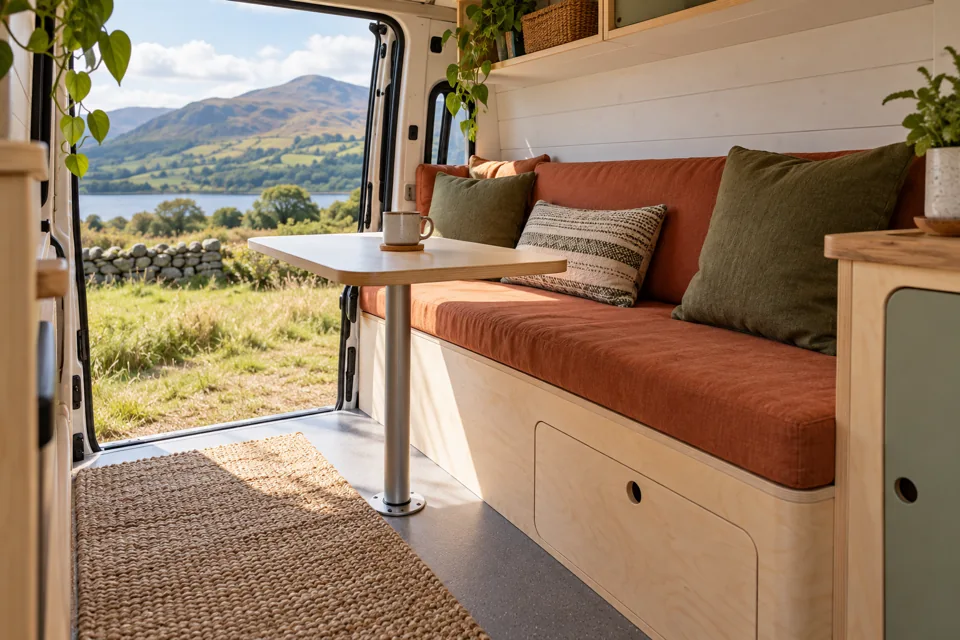
1. Try the sitting position in the actual van
Mock up the bench where it will be used. Use a stable supported base and foam samples or existing cushions, with the vehicle parked. Sit as you normally would: reading, eating at a table or talking to someone opposite. Try it for more than a quick photograph.
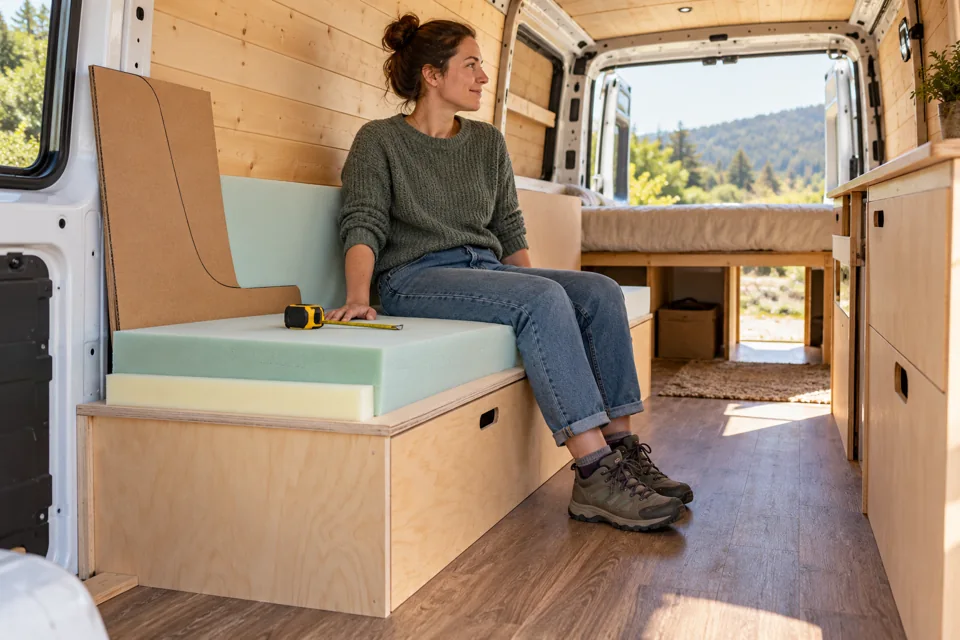
Check whether your feet rest comfortably, whether the front edge presses behind your knees and whether the back cushion supports you without pushing you too far forward. Different people may prefer different depths and back support. There is no single bench measurement that suits every converter.
Test the table as part of the arrangement. Leave knee and thigh room, enough space to get in and out, and a clear path to the side door. Open the kitchen drawers and nearby cupboard doors. A comfortable seat is frustrating if using it blocks everything else.
If the bench becomes a bed, try the whole changeover with the intended cushion pieces. Find a home for the table, spare back cushions and bedding before fixing the layout. The bed-frame guide covers the supporting bed arrangement.
2. Allow for the cushion you will actually sit on
The top of an empty cushion is not the same as the sitting height when someone is on it. Foam compresses, wraps add bulk and a deep back cushion reduces the usable seat depth. Confirm the bench dimensions with representative materials before committing to the box beneath.
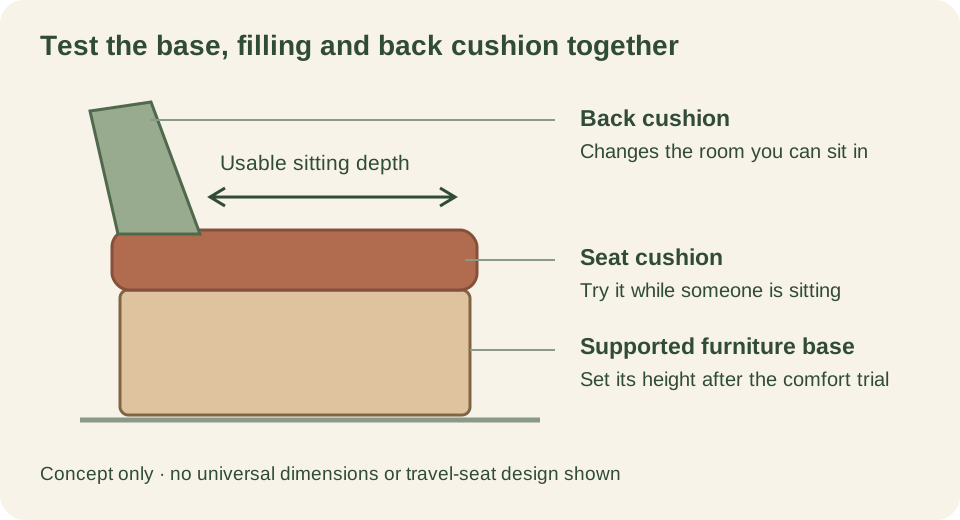
Record the support height, cushion thickness, usable sitting depth, backrest position and table clearance on a simple sketch. Note which dimensions were measured with someone seated. Try the layout again after the floor, lining and actual table supports are in place.
For example, a 350 mm base plus an uncompressed 100 mm cushion gives a 450 mm unloaded height. That arithmetic does not choose the correct height: compression, posture, the people using it and the floor beneath their feet still matter. Treat it as a way to check your drawing, not a recommended universal size.
3. Plan a supported bench base
Choose a box or frame arrangement that supports the seat surface and expected use without relying on a loose thin panel spanning a large opening. Plan the joints, bracing, lid or access doors and furniture attachment together. The seat top needs support around openings as well as at the outside edges.
Use the actual van's conversion guidance to identify suitable attachment locations, and have the furniture fixing arrangement checked where it is unclear. Decorative lining and insulation are not structural mounting points on their own. Avoid drilling into hidden cables, pipes or vehicle components.
Dry-assemble the base, check it is square and trial-fit it in the van. Keep corners comfortable where legs and hands pass. Arrange cut edges and material finishes for the moisture conditions you expect. Use suitable dust controls when cutting and sanding, and follow the chosen materials' assembly and curing instructions.
This is furniture guidance for parked use. It does not specify a crash-tested seat structure, belt attachment, passenger capacity or travel-seat conversion. Keep any approved travel-seat equipment and its required access separate from the living-area furniture design.
4. Make under-seat storage easy to reach
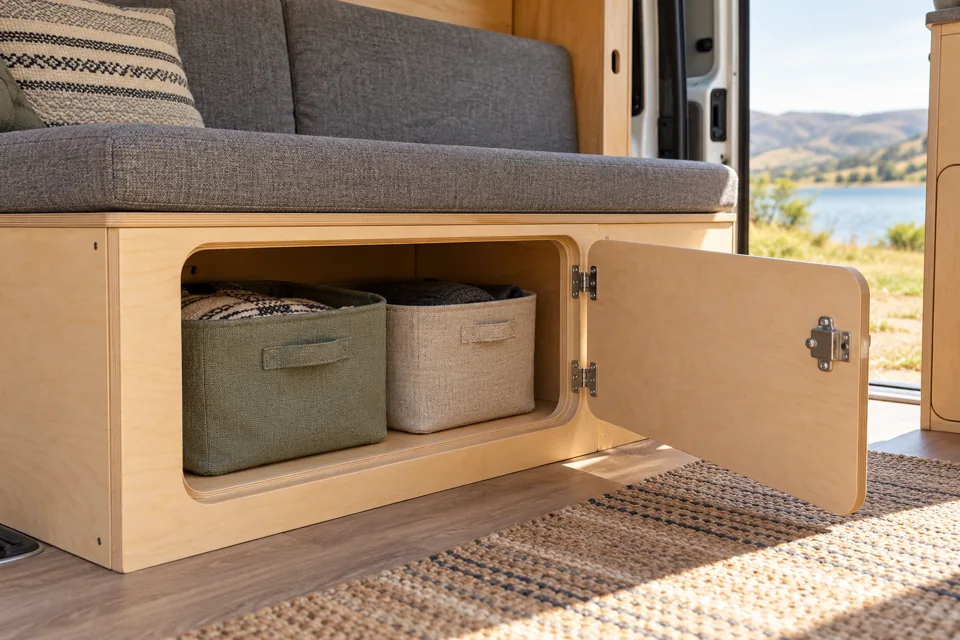
Decide how you will reach the compartment before drawing its shelves. A front door may be convenient for daily items; a supported lift-up lid can suit occasional access. Check that a lid cannot fall onto fingers and that the hinge, stay and surrounding structure suit the actual lid weight and movement.
Do not create a huge opening and then expect a flexible seat top to bridge it. Keep the required supports in the design. Try opening the compartment while the table, bed extension and normal luggage are in place.
Fit suitable travel closures to doors and lids, and restrain the contents appropriately. Use low storage sensibly, with heavier items secured in suitable locations. Follow the secure-storage guide for packing and closure planning.
If the space houses a battery, heater, gas locker or another system, its own installation, ventilation, separation and service requirements govern the compartment. Do not treat a general storage box as an approved equipment enclosure or pack belongings around equipment that needs clear space.
5. Choose filling for sitting, sleeping or both
Tell an upholstery supplier what the cushion will do, its finished size and depth, the support underneath and who will use it. Ask for samples where practical. Seat and back cushions may need different support, and a cushion that feels pleasant for a short sit may not suit a full night's sleep.
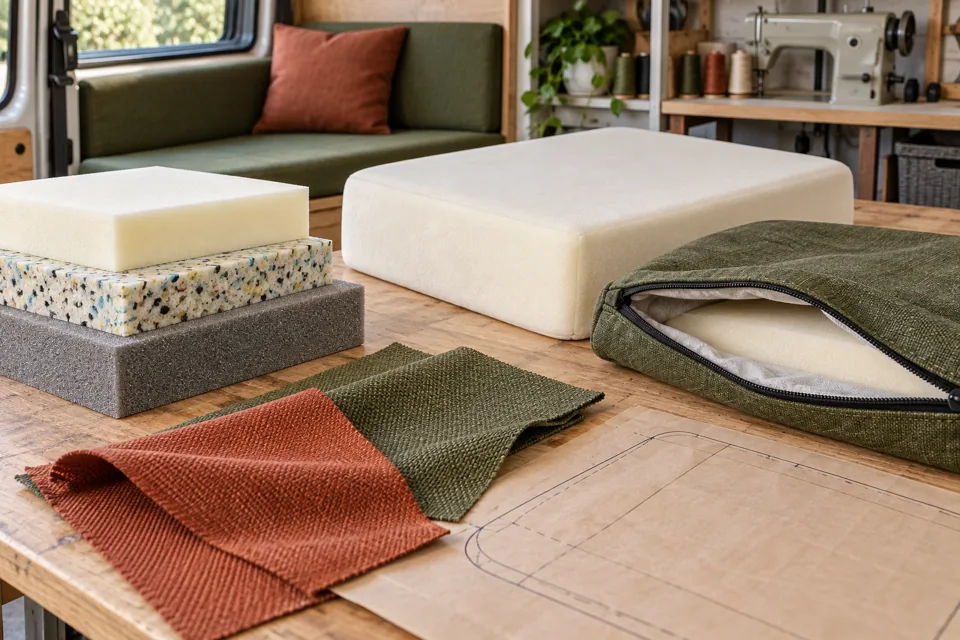
Density and firmness describe different properties. Do not buy solely because a listing says high density or because one sample looks the same colour as another. Ask for the actual grade, intended use and relevant product information, then assess the complete cushion.
A wrap can soften edges and improve appearance, but it also changes the finished dimensions and cover fit. Confirm any wrap, stockinette and shaping with the supplier before finalising the cut size. A tight cover can change how a cushion feels.
Ask a competent upholsterer or supplier to confirm the suitability and applicable fire-performance information for the complete foam, fabric and lining combination in your intended use. A claim about one component does not establish the performance of everything assembled together. Keep paperwork with the build records.
6. Choose covers for real van life
Compare abrasion resistance, cleaning instructions, feel against skin, stretch and behaviour around moisture. Request a swatch and look at it in the van's daylight. Pale fabric may look airy; a textured mid-tone can be more forgiving of daily use. Neither choice removes the need for regular cleaning and drying.
Removable zipped covers make inspection and cleaning easier, but removable does not automatically mean machine washable. Follow the fabric, lining and finished-cover care instructions. Check shrinkage and whether the supplier recommends prewashing before making the covers.
Position zips where they are reachable without rubbing against skin, scratching finished timber or catching nearby fittings. Allow enough opening to remove the filling without tearing seams. A simple rectangular cushion with a well-made cover is often a more achievable first project than several complicated curves.
Think about everyday moisture from wet coats, cooking and condensation. Keep cushions away from persistent leaks, inspect underneath and allow them to dry. Ventilating the van and maintaining dry surfaces matters; choosing a different foam alone does not cure a damp seating area.
7. Make paper patterns and one trial cover
Measure the finished support and decide which cushion edges meet each other. Use paper patterns for unusual shapes, marking the front, top, fabric direction and any angled back. Work from the supplier's agreed finished cushion sizes and account for the actual filling and wrap.
Confirm seam allowances and zip construction for your sewing method rather than adding an arbitrary allowance to every panel. Label matching pieces, check patterned fabric alignment and allow for fabric width and cutting waste before ordering.
Make one trial cover or use an inexpensive test fabric for a difficult shape. Fit it to the real cushion and sit on it. Adjust the pattern before cutting the rest of the finished fabric. If sewing is not your skill, supply an upholsterer with the tested template and clear requirements instead.
Keep any cutter or sewing-machine work on a suitable work surface, with hands clear of the cutting line or needle. Buying foam cut to size and having covers made can be a sensible way to complete this stage without buying several specialist tools.
8. Fit the cushions and make the routine simple
Check how cushions stay in place during normal parked use and how they will be secured for travel. Select compatible fixing or restraint methods that do not obstruct covers, ventilation or service access. Loose cushions and the table also need a suitable travel storage or restraint arrangement.
Try the completed seat with the actual table. Confirm access to drawers, windows and doors. If it converts to a bed, practise the sequence and mark the cushion positions discreetly on the underside. A layout that takes ten awkward steps to change may benefit from fewer pieces.
Check beneath the cushions regularly for moisture, abrasion and loose furniture fixings. Deal with the cause of dampness before replacing damaged foam or covering the problem with another layer. Keep care instructions and supplier details so replacement covers can be made later.
Clearly identify living-area seating that is not intended for use while travelling. Everyone should use appropriate travel seats and restraints when the van is moving; a comfy sofa appearance must not suggest an extra approved passenger place.
Tools, time and a simple budget
For planning, start with cardboard, paper, pencil, tape and a square. The base may need clamps, cutting/drilling tools and appropriate extraction; upholstery work may need suitable scissors, pins or clips, a sewing machine and a clear bench. Your construction and cover-making method determine the final list.
Separate the budget into the bench structure and attachment, access hardware, foam and wraps, fabric and lining, zips and finishing, plus any professional help. Keep travel-seat equipment entirely separate—it is not an optional furniture accessory.
For an arithmetic example only, £120 for filling, £90 for fabric and £30 for cover materials totals £240 before the bench, hardware, tools or labour. These are invented planning figures, not supplier quotes or a price for your seating. Get actual quotes using the finished sizes and selected materials.
Allow time for a sitting trial, base trial fit, supplier samples and one test cover. Finishing and curing the base before fitting new upholstery helps keep dust and wet coatings away from it. Reusing a suitable existing cushion may save money, but assess its condition and material information first.
Your seating and upholstery checklist
- The bench is clearly identified as living-area seating for parked use.
- Extra passenger travel seats, if needed, have been resolved separately with appropriate specialists.
- Actual users have tried the sitting height, depth, back support and table clearance.
- The base, access openings and seat surface have appropriate support and furniture attachment.
- Doors and lids work safely and have suitable travel closures.
- Required equipment ventilation, separation and service access remain clear.
- Filling, wrap and covers have been tested together; relevant material information is retained.
- Covers can be removed as intended and cleaning instructions are understood.
- The bed changeover, if applicable, works with somewhere to put spare pieces.
- Cushions, table and stored items have appropriate arrangements for travel.
- The finished seating area is dry, smooth-edged and easy to inspect.
Instructions and further reading
Original CamperSteps writing, illustrations and comfort-planning diagram. Pictures do not establish structural loads, travel-seat approval or a fire-performance classification.
- Department for Transport and DVSA: carriage of passengers in campervans—official guidance on passenger seating and restraint considerations; confirm current requirements for the actual vehicle and intended use.
- Polyurethane Foam Association: foam in furniture design—background on the complete comfort system and foam properties.
- eFoam: grade and specification information—an example of supplier information to request for actual materials, not a single recommended grade.
- HSE: controlling dust when cutting and sanding wood.
References checked 2 November 2026. Budget examples are editorial allowances. Saved plans, equipment selections and catalogue prices are unchanged.
← Overhead cupboards and secure storageNext: Electrics and cable routing →