
Stage 1 · Start with a sound, dry shell
Preparing your van and treating rust
Before the cosy bed, neat cupboards and insulation, give the empty van some attention. A clean, dry shell makes it easier to spot trouble—and much easier to put it right while you can still reach it.
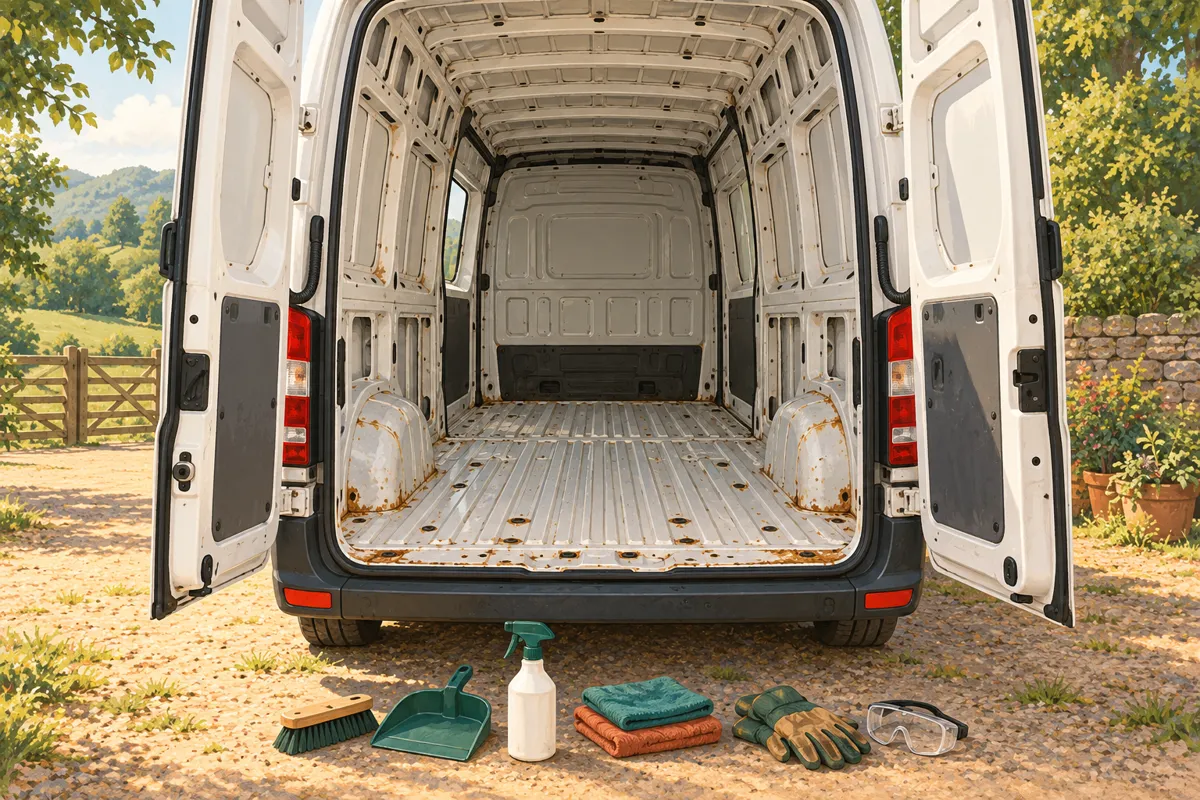
Before you start: make the job manageable
Park somewhere level, dry and well ventilated, with room to open the doors. Pick a forecast that lets you keep the exposed shell dry. An hour after work is enough for removing a few panels; cleaning, drying and coating are better planned around the weather and the product instructions.
Photograph the interior before removing anything. Keep a small notebook or phone album for damp patches, rusty areas, holes and repairs. A wide shot shows where a problem sits; a close-up helps you compare it after cleaning.
Keep the work to the cargo area unless you know the vehicle’s systems. Factory wiring, seat and seat-belt fixings, airbags, structural ribs and bonded joints are not spare conversion parts. Get advice before disturbing them. If the van has an existing camper electrical system, gas equipment or an unknown previous conversion, have it made safe before stripping around it.
What you will need
Start with hand tools and cleaning supplies. Buy the coating system after you understand the condition of the metal, rather than collecting several different rust products first.
| For the job | Useful items | Beginner tip |
|---|---|---|
| Removing lining | Correct screwdrivers/bits, trim tools, labelled bags, marker pen | Bag fixings by panel and keep reusable trim. |
| Cleaning | Brush, dustpan, suitable vacuum, cloths, automotive cleaner/degreaser | Remove debris first; avoid soaking cavities and electrics. |
| Inspecting | Torch, inspection mirror, phone camera | Look at seams and hidden edges, not just the middle of panels. |
| Preparing local rust | Hand scraper, suitable wire brush, abrasive paper/pads, masking materials | Choose abrasives for the coating system and thin vehicle panels. |
| Protecting metal | Compatible cleaner, rust treatment if required, primer and finish, brushes | Read technical sheets and safety data before purchase. |
| Working safely | Eye protection, task-appropriate gloves, dust control and suitable protective equipment | Check protection against the actual dust, chemical or tool hazard. |
Power tools are optional, not a requirement for every spot of surface rust. They can damage thin steel, throw debris and create heat or sparks. If a hand-tool approach cannot expose a firm surface, reassess the repair rather than attacking the panel harder.
1. Remove the old lining carefully
Empty the van completely, including loose shelves, mats and cargo straps. Remove aftermarket wall panels and the load floor in manageable sections, keeping help available for large or heavy sheets. Expect some screws to be hidden under dirt, adhesive or flooring.
- Photograph each panel and check how it is fixed before pulling it.
- Undo accessible fixings with the correct tool. Lift gently; stop if wiring or an unseen fixing is holding it.
- Bag useful screws and clips. Label the panel’s position if it will become a template.
- Check the underside of old plywood and mats for staining, rot or trapped moisture.
- Separate reusable materials from damp, contaminated or damaged waste.
Do not drill out an unknown fixing or cut through a panel blindly. Vehicle wiring, fuel and brake lines, tanks and other equipment can sit behind or below it. Keep factory plugs and drains until you know what they do.
Keep a useful template: an old floor can help with a new floor shape, but do not copy unexplained holes or build faults simply because they were there before.
2. Clean first, then let the van dry
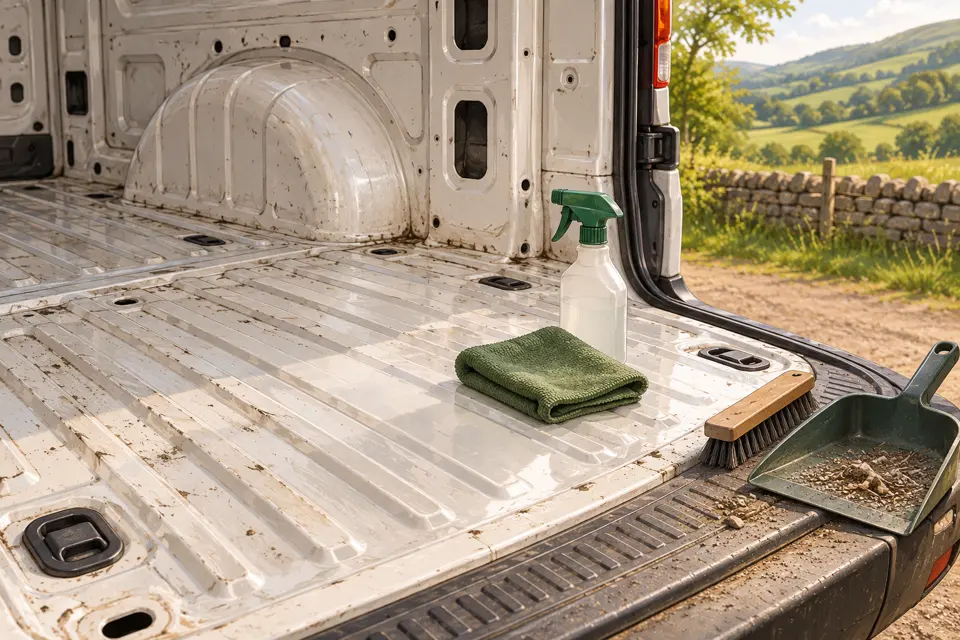
Brush out grit, screws and loose debris. Use a vacuum suitable for the material being collected; an ordinary household vacuum is not suitable for every workshop dust, and must not collect flammable liquids. Avoid blowing dirt into cavities with compressed air.
Clean accessible surfaces with a suitable automotive cleaner used at its stated dilution. Work in small areas so dirty liquid does not collect under seams or run into wiring. Remove residue as the cleaner requires, then let the shell dry thoroughly. A dry-looking top surface can hide moisture in a folded joint.
Grease, old adhesive and silicone contamination can interfere with new coatings. Use a removal method compatible with the paint and substrate. Try a small inconspicuous area first. Do not mix cleaners or use petrol as a cleaning solvent.
Look again after cleaning: marks that looked alarming may have been dirt, while a small blister may reveal a larger affected edge. This is why inspection comes after the first clean, not just before it.
3. Inspect the places rust likes to hide
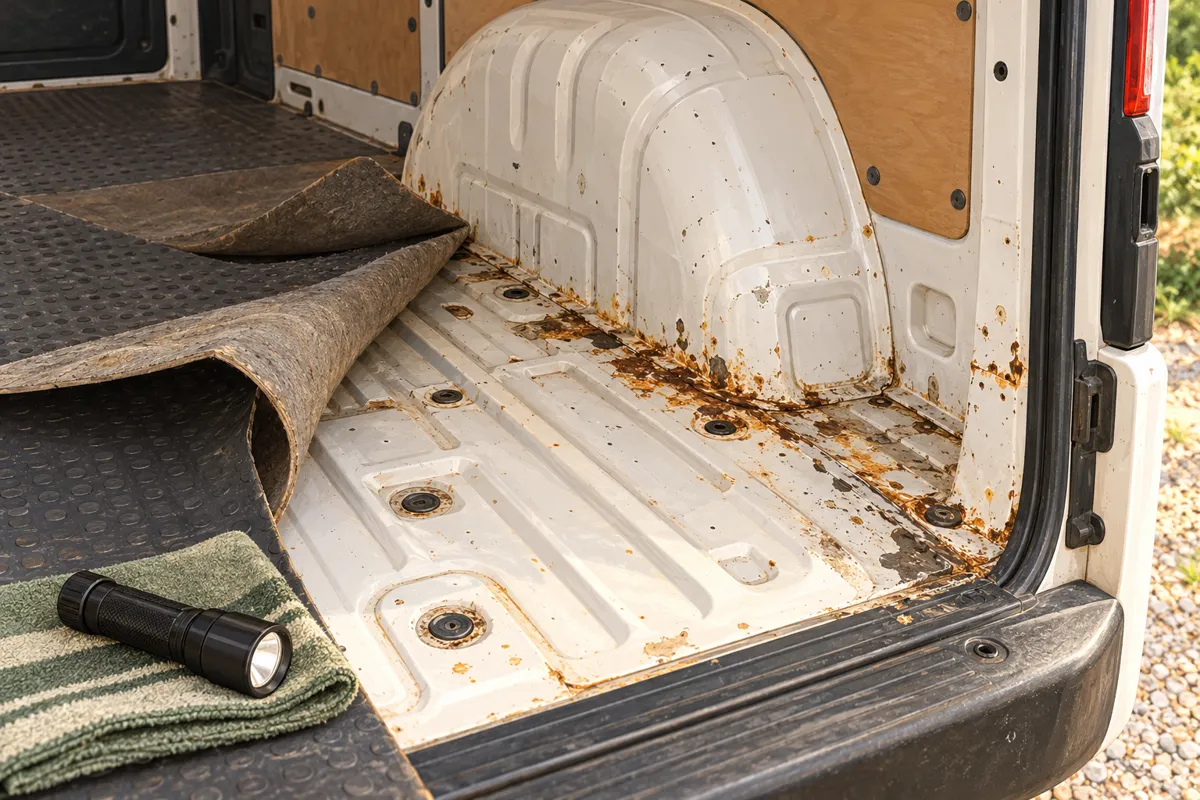
Use your torch to follow joints and edges. Make a short list of locations rather than relying on memory once everything starts looking similar.
- Floor corrugations and old fixing holes: look for chipped paint, trapped grit and discolouration around screws.
- Wheel arches and their floor joints: inspect accessible seams and both sides where safely visible.
- Rear and side-door thresholds: these collect water and take repeated knocks.
- Lower wall edges and cavities: look for damp debris and blocked drainage.
- Roof seams and old roof fittings: inspect safely without climbing on unsupported panels.
- Window edges, seals and earlier repair areas: look for water tracks, lifting paint and cracked sealant.
- Structural and mounting areas: any concern near chassis members, seat or seat-belt mounts needs a competent assessment.
A previous MOT pass does not tell you the condition behind every interior panel. Equally, a few orange marks do not automatically mean the van is beyond repair. The important question is the condition of the metal beneath and around them.
4. Decide: surface preparation or bodywork repair?
| What you find | What to do next |
|---|---|
| Small local stains or light surface corrosion on otherwise firm metal | Clean and prepare a small area, then reassess. Local treatment may be appropriate if the substrate remains sound. |
| Raised blisters, thick flakes or deep pitting | Do not assume a converter will solve it. Expose the extent carefully and have uncertain or significantly thinned areas assessed. |
| A hole, soft/crumbling steel, separated seam or suspect structural/mounting area | Pause the conversion and arrange professional bodywork assessment. Paint, filler, mesh and converter do not restore structural strength. |
| Rust returning beneath an old patch or seal | Investigate the hidden corrosion and water source. Recoating the visible mark may leave the cause untouched. |
Do not stab or hammer a suspect panel to prove it is sound, especially near hidden services. If cleaning reveals a hole or a thinning edge, stop and reassess the work. A bodyshop can tell you whether a local repair is suitable and what needs access from the other side.
What a rust converter cannot do: replace missing metal, reinforce a mounting point, repair a leaking seam or guarantee rust has stopped inside a closed joint. Treat it as one possible coating-system component, not permission to cover a damaged shell.
5. Prepare a small area of surface rust
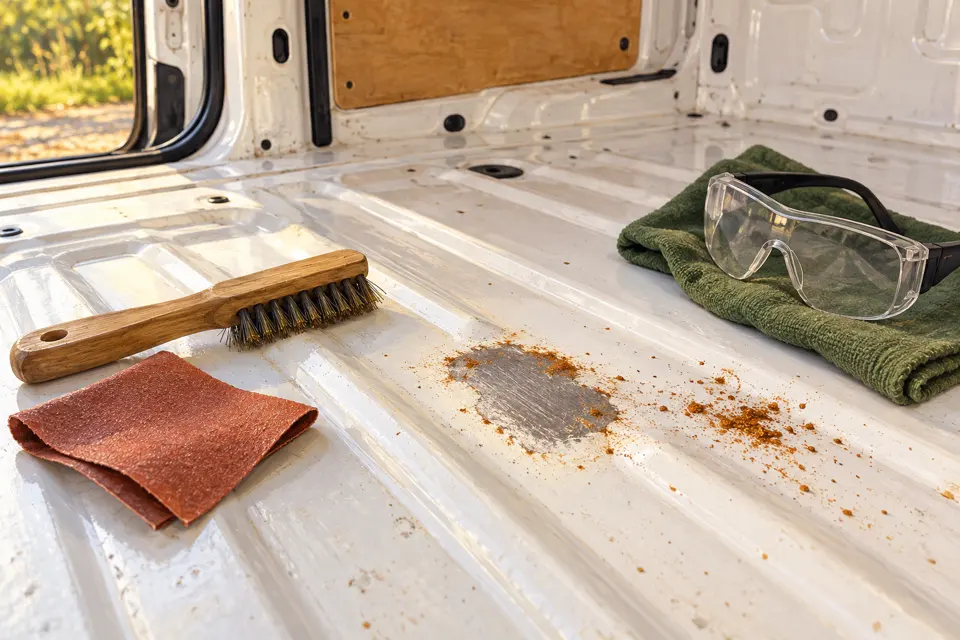
For a local patch that has been assessed as suitable for surface treatment, work towards a clean, stable surface. Keep good factory paint wherever it is firmly attached.
- Check the system. Read the chosen treatment, primer and topcoat instructions together. Find out whether the primer is intended for bare metal, treated rust or existing paint.
- Protect the surroundings. Cover nearby trim and equipment. Check what lies behind the work area before using anything that could cut, spark or penetrate.
- Remove loose material. Scrape or brush away loose rust and lifting paint. Work progressively with an abrasive suitable for the steel and coating system; avoid gouging or thinning the panel.
- Blend the sound paint edge. Remove lifting edges rather than painting a bridge over them. Follow the primer’s preparation grade instead of using one grit number for every system.
- Clean away debris and contamination. Use the specified cleaning process. Some products require rinsing; others need a solvent wipe. These instructions are not interchangeable.
- Inspect once more. If the exposed patch is much larger, deeply pitted or no longer firm, move back to assessment rather than pressing on with coating.
Prepare only as much as you can protect within the product’s allowed conditions. Bare steel left in damp air may start corroding again before the next session.
6. Treat and protect with one compatible system
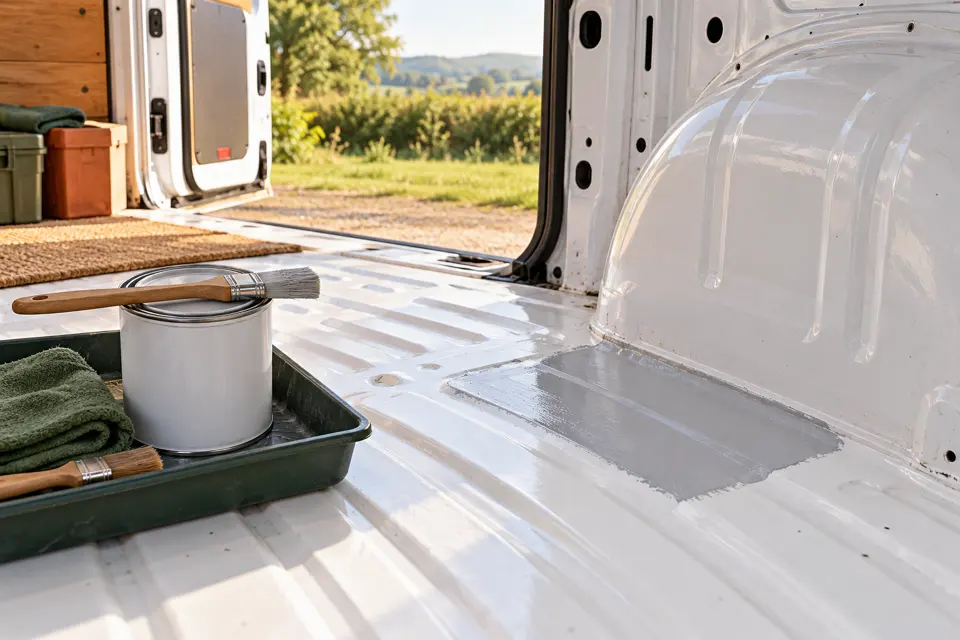
There are two common approaches: remove the corrosion sufficiently for a suitable bare-metal coating system, or use a specified treatment for remaining corrosion on sound metal. Which is suitable depends on the substrate and the product instructions. Do not automatically add rust converter to clean metal just because you bought some.
A product-specific example: Bilt Hamber’s Hydrate-80 instructions require loose rust to be removed and the surface cleaned before treatment. That preparation is part of using that product, not an optional extra. Its coat timings and overcoating instructions belong to that product; another treatment may require a different sequence. Use the current manufacturer instructions rather than a universal internet drying time.
- Check substrate suitability, air and panel temperature, humidity and application method.
- Apply the specified coats and coverage. A thick puddle is not extra protection.
- Observe drying, curing and recoat windows. Touch-dry is not always ready for another product or adhesive.
- Apply the compatible primer and protective finish specified for that location. Check whether the treatment itself serves as part of the primer system.
- Allow the finished system to cure before covering it or bonding insulation, battens or sound-deadening onto it.
Use a system approved for the relevant interior, seam or exterior location. Do not assume any primer is a durable final finish, or that one brand’s converter is compatible with another brand’s epoxy. Ask the supplier when the technical sheets do not make compatibility clear.
Avoid isocyanate-containing two-pack spray products as a casual DIY shortcut. The required exposure controls are beyond opening the doors and wearing a dust mask. Brush-applied products also need their own safety precautions and ventilation.
7. Sort leaks, holes and seams before covering them
Water damage will come back if the source stays open. Look for a sensible explanation: a failed roof fitting, door seal, unsealed old screw hole or leaking body seam. Water can travel along a rib, so the wet patch may not sit directly beneath the entry point.
After a suitable repair, check for ingress gently with someone watching inside. Do not direct a pressure washer into seals, flood the interior or soak electrical equipment. Dry the area and check again after rain before committing to permanent lining.
Identify each hole before closing it. Some are intentional drains or access points; some belong to factory equipment. Redundant small non-structural fixing holes need an appropriate durable closure, prepared and protected on accessible faces. Tape alone is not a permanent body repair. Larger openings, corroded edges or any doubtful location need bodyshop advice.
Seam sealer is not a substitute for replacing rotten steel. Where resealing is appropriate, use a compatible automotive system in its specified order. Some sealers go over primer, others have different substrate requirements. Do not seal over active corrosion, trap damp inside a joint or block drainage.
If using cavity protection, keep it away from future adhesive and paint bonding areas, drains and equipment that must remain clean. Arrange timing with the repair/coating supplier. Record where it has been applied so later work does not start on a contaminated surface.
How much time and money should you allow?
For planning, give an otherwise sound van a weekend for strip-out, cleaning, inspection and a few small patches, with extra calendar time for drying and curing. That is a working allowance, not a promise that a coating can be covered on Sunday evening.
| Planning allowance | Rough starting budget |
|---|---|
| Cleaning supplies and disposable materials | £20–£40 |
| Hand preparation tools and abrasives | £15–£35 |
| Small-area compatible treatment, primer and finish | £40–£90 |
| Basic task-appropriate protective equipment | £20–£50 |
These are editorial budget estimates, not checked shopping quotes. Around £95–£215 may cover those categories if you start from scratch; borrowing tools and using suitable equipment you already own can reduce it. Dust extraction, specialist protection, seal repairs, bodyshop labour, structural repairs and welding are outside that allowance. Get quotes for repairs before spending the insulation budget.
In your plan, use the Preparation items for cleaning, rust treatment and paint. Count a purchase once: do not add the guide’s total on top of the same selected equipment.
Common mistakes that create more work later
- Painting dirt or loose scale: the new layer depends on what is underneath it.
- Treating every rust mark the same way: a firm surface patch and a weakened seam need different decisions.
- Stripping good factory paint: unnecessary bare metal creates extra preparation and protection work.
- Mixing products without checking: “rust treatment” does not mean every primer and adhesive will bond to it.
- Rushing drying: damp seams or uncured coatings are poor foundations for insulation.
- Covering corrosion with sound-deadening: a sticky mat hides the problem and makes inspection harder.
- Sealing everything shut: drains and intended access points must still do their job.
- Forgetting the other side: accessible corrosion underneath a repair also needs assessment and a suitable finish.
Your checkpoint before insulation
You are ready to move on when you can answer these honestly. Use this as a reading checklist; it does not change your saved plan or certify a repair.
- Old lining and debris are removed where needed, and hidden areas have been inspected.
- Suspect structural or badly corroded areas have been assessed and necessary repairs completed.
- The source of any damp or leaks has been addressed and checked.
- Prepared areas have a compatible protective finish with the required cure time allowed.
- Drains, factory services and important mounting/access points remain usable.
- Surfaces intended for bonding are clean, dry and suitable for the chosen adhesive.
- Photos and product details are saved for future maintenance.
A few clear photos now can save a lot of guesswork later. Once the van is lined, keep an eye on door thresholds and water entry points rather than treating rust prevention as a job you never revisit.
Instructions and further reading
This guide is original CamperSteps writing and illustration. It is a practical introduction, not a vehicle-specific repair manual. Follow the van maker’s repair guidance and the current technical and safety sheets for the actual products you choose.
- Bilt Hamber: Hydrate-80 application instructions—a product-specific preparation example.
- HSE: introduction to safe motor vehicle repair—vehicle support, paint and workshop risks.
- HSE: welding and flame cutting—why hot work needs suitable competence and controls.
Sources checked 1 November 2026. Budget ranges are editorial allowances. Illustrations show example locations, not the condition or repairability of your van.